
Last updated September 20, 2026
Free on-site gate assessment - hinges, posts, and your LiftMaster or Nice gate operator checked before anything is quoted
The assessment is free and the quote is the invoice.


 Before
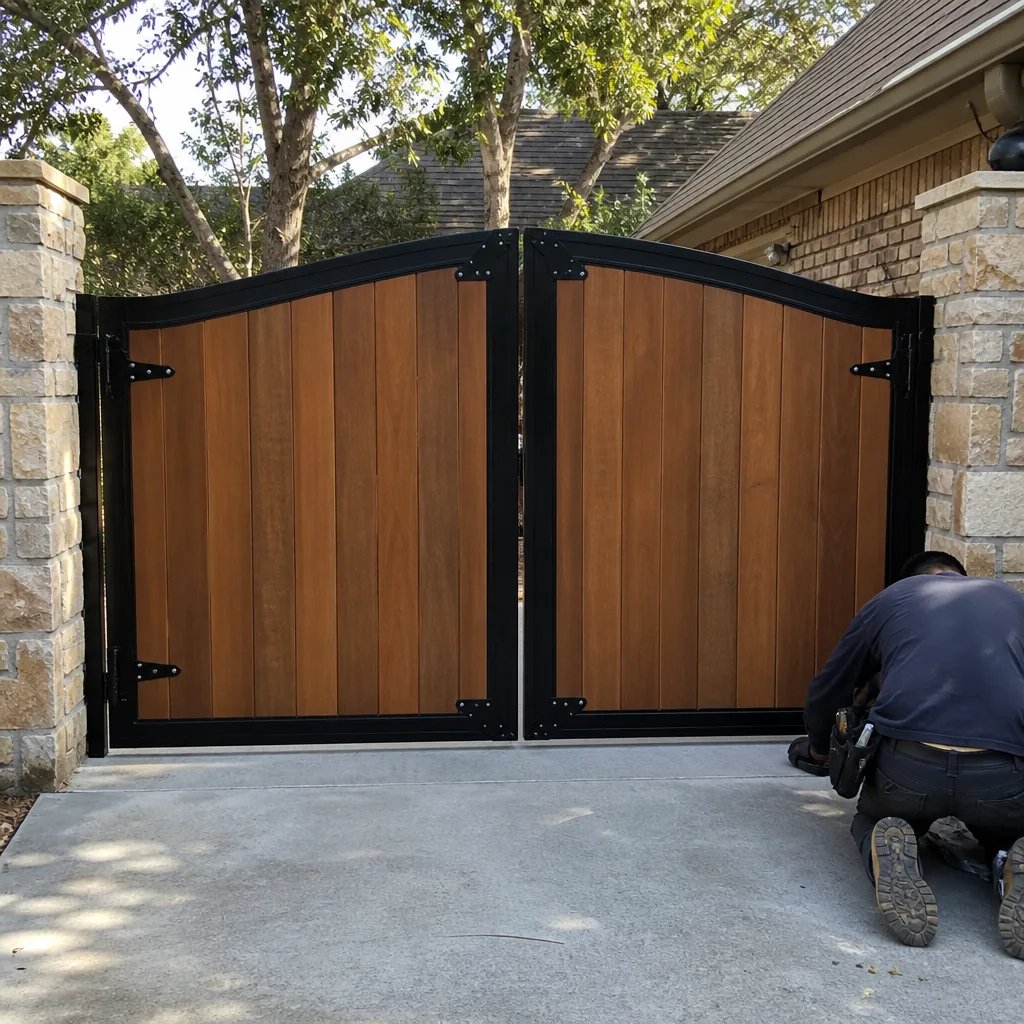 After
After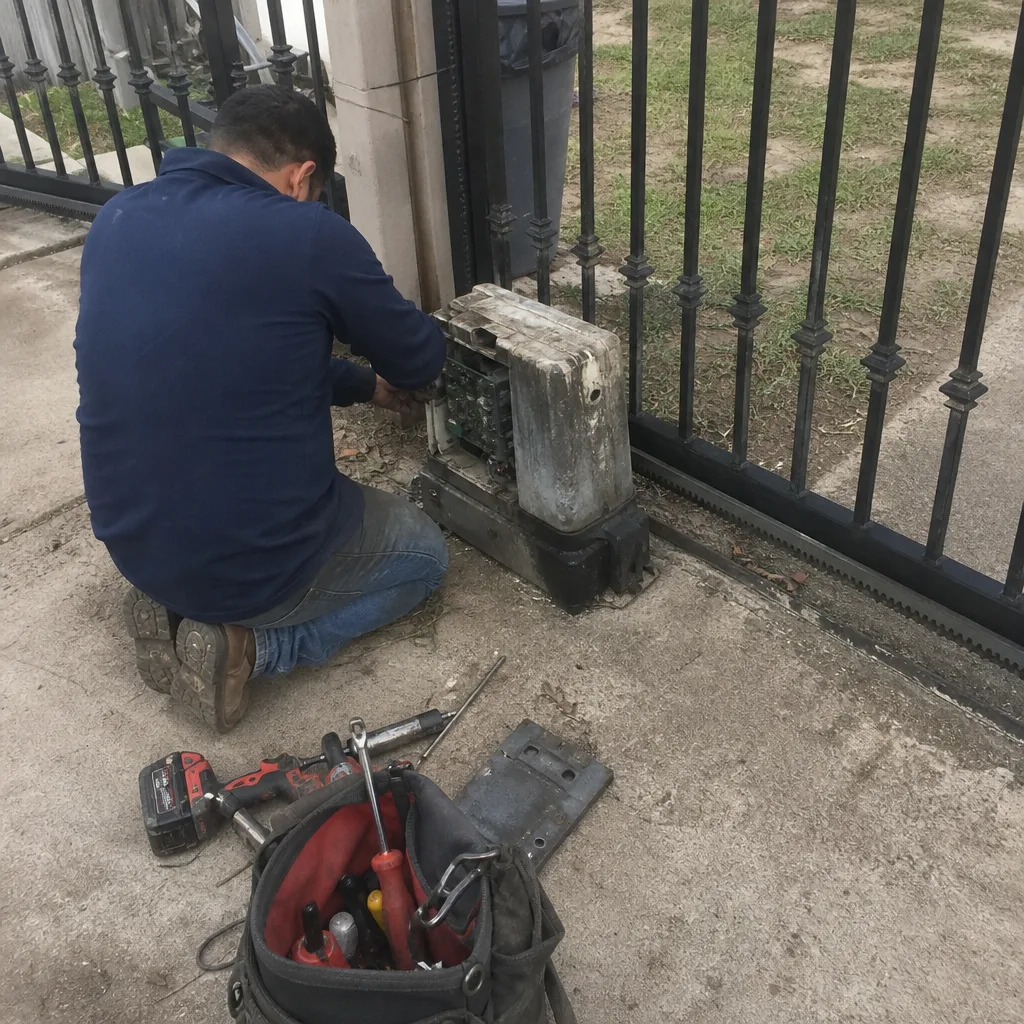 Before
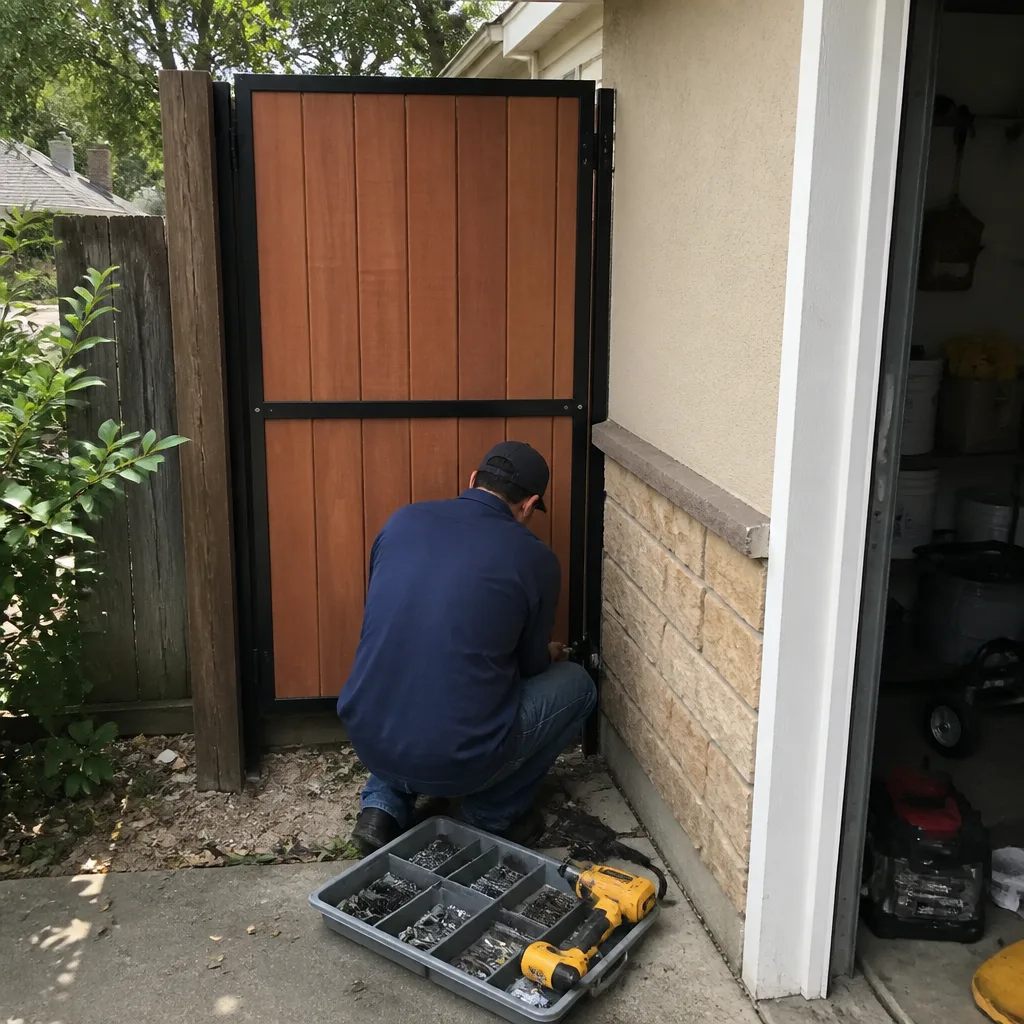 After
After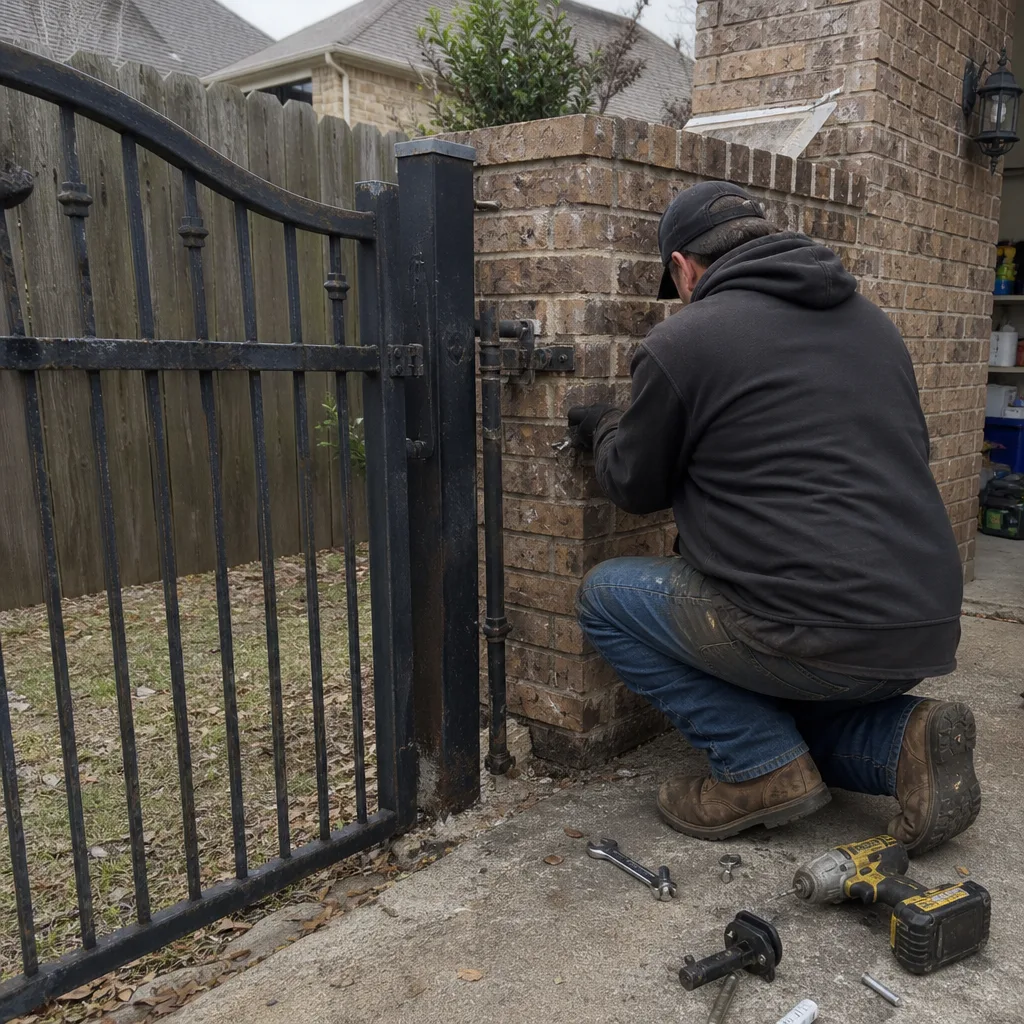 Before
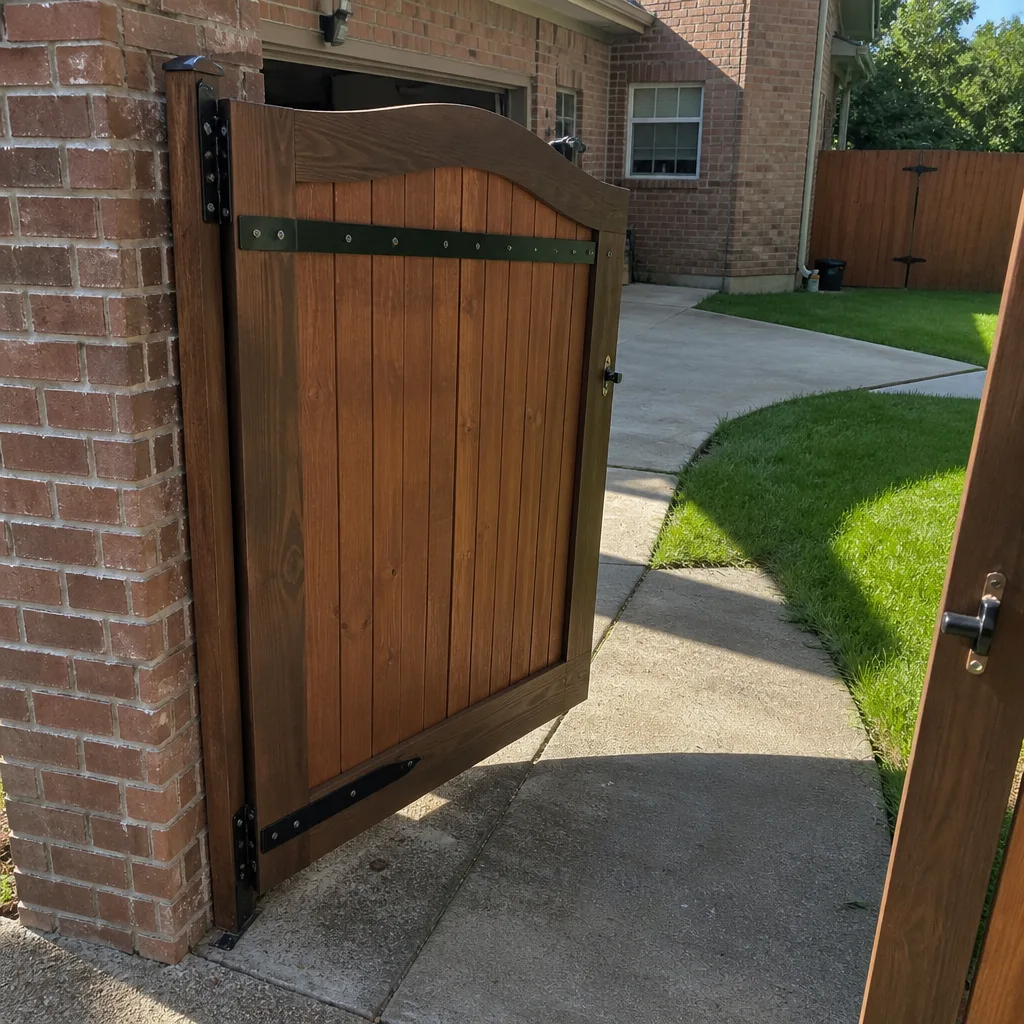 After
AfterGate Repair Maintenance Checklist for Murphy Homeowners
Most gate maintenance checklists are recycled from general fence guides and list items like “lubricate moving parts” with no quantity, no product type, and no measure of whether the lubrication actually worked. A homeowner in Murphy who reads that advice is left with a rag, a can of mystery spray, and no way to know if the gate is better off than it was twenty minutes earlier. This checklist is different. Every item on it carries a pass/fail threshold: a specific measurement, sound, or visual condition that tells you whether the component is holding up or quietly failing. By the end, you’ll have a inspection routine you can actually repeat, a photo log that any future technician can read, and a clear sense of which tasks belong to you and which belong in the hands of a licensed gate repair contractor.
Quick Answer
A meaningful gate maintenance inspection in Murphy covers six zones: post alignment, hinge wear, operator amp draw, safety sensor function, limit-switch travel, and track or chain condition. Each zone has a measurable threshold you can check in about ninety minutes with a level, a tape measure, a phone camera, and one sheet of paper. If every reading lands inside the pass range, your gate is healthy for the next season; if any reading lands outside, you’ve caught a developing failure early enough to fix it before it becomes an emergency call.
Table of Contents
- The Winter Clay Problem in Murphy
- Post Plumb: The One Reading That Predicts Most Repairs
- Hinge Gap Tolerances: What a Quarter Inch Actually Means
- Operator Amp Draw: The Underused Diagnostic
- Safety Sensors: Alignment, Lens Condition, and Response Time
- Limit-Switch Travel: Setting the Stop Point Correctly
- The Photo Log: How to Document So Any Technician Can Read It
- Common Mistakes to Avoid
- When to Call a Professional
- Frequently Asked Questions
BeforeAfterThe Winter Clay Problem in Murphy
Murphy sits on expansive clay soil that shrinks in dry summers and swells after sustained rain. A wet winter followed by a hot spring is the worst-case sequence for driveway gates, because the ground under the post expands, then contracts, then expands again, and each cycle can shift the post a fraction of a degree. Homeowners often mistake this movement for a hinge problem, because the gate starts dragging on a latch or sagging toward the opener. In our experience in Murphy, the hinge is rarely the root cause in that scenario; the post has moved and the hinge is simply holding the gate at the new angle.
Here is how to check for clay-heave at the post base after a wet winter:
- Clean the base. Use a stiff brush to remove dirt and grass from the bottom six inches of the post. You are looking for a gap between the soil and the concrete footing, or between the footing and the post plate.
- Look for a crescent gap. Clay expansion typically lifts one side of the footing before the other. A crescent-shaped opening on the north or east side of the post is the classic early sign of heave in Murphy’s soil.
- Measure the gap. A gap under 1/8 inch with no visible post tilt is usually dormant and can be monitored. A gap over 1/8 inch, or any gap paired with a visible lean, means the footing has begun moving.
- Test for movement. Place one hand on top of the gate and push laterally with moderate force. If the gate flexes at the post base rather than at the hinge, the footing is loose.
Document what you find with a photo from ground level and a second photo from ten feet back showing the whole gate plane. Early heave is repairable with post re-setting or footing stabilization. Ignored heave eventually cracks the post base or bends the hinge bracket, and that’s when the repair cost jumps from a few hundred dollars to over a thousand.
If you want a full service partner for this and the rest of the list, Gate Repair in Murphy covers the diagnostic side so you’re not guessing at a footing you can’t see below grade.
Post Plumb: The One Reading That Predicts Most Repairs
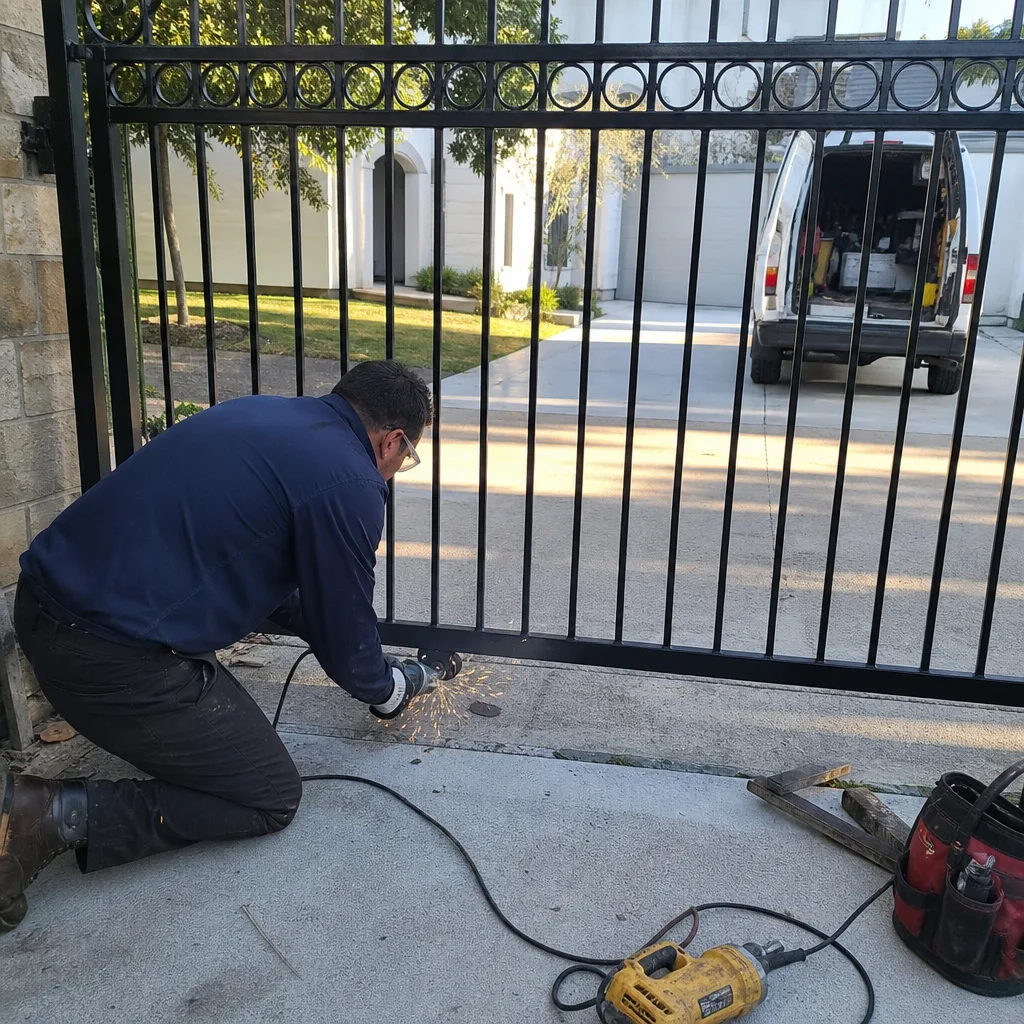
The word “plumb” just means vertical. A post that is not plumb is leaning, and a leaning post transmits that lean through every hinge, every bracket, and every sensor on the gate. The measurement is simple, but the threshold matters. Place a four-foot level against the post on two adjacent sides; if the bubble falls outside the center lines on either side, the post is out of plumb by more than a quarter inch per foot. In our experience, anything beyond a 1/4-inch deviation over four feet of post will eventually create a second problem: hinge bind, operator strain, or a safety sensor that refuses to align.
Common Murphy readings and what they mean:
- Under 1/8 inch per foot. Normal. Seasonal clay movement often causes this much and then returns. Note it in your log and re-check next season.
- 1/8 to 1/4 inch per foot. Developing. The post has moved and is not likely to self-correct. Start budgeting for a post re-set or base stabilization.
- Over 1/4 inch per foot. Failing. The gate will bind, the opener will draw high amps, and a hinge weld or bracket will eventually crack.
Measuring post plumb takes under five minutes per post and costs nothing. It is the highest-value reading on this checklist because it predicts most Murphy gate failures before the failure announces itself with a broken weld or a dead motor. For the full guide on what a repair involves when a post has truly moved, see Gate Installation in Murphy, where we cover what gets re-set versus what gets replaced.
Hinge Gap Tolerances: What a Quarter Inch Actually Means
Every swing gate hinge carries the full weight of the gate leaf through a small pair of bearing surfaces. As those surfaces wear, the gap between the hinge pin and the hinge body grows, and the gate begins to sag. A homeowner can measure this wear directly with a simple shim test, and the numbers will tell you exactly where the hinge is in its service life.
Pass/fail thresholds for a typical Murphy residential swing gate:
- Gap less than 1/16 inch. Pass. The hinge is tight and the bearing surface is intact.
- Gap between 1/16 and 1/8 inch. Watch. The hinge is wearing normally but should be greased and re-checked in six months.
- Gap over 1/8 inch. Fail. The pin or the body is worn past tolerance. The gate will continue to sag and the opener will compensate with higher amp draw until something breaks.
To measure, lift the gate leaf gently at the latch end and slide a feeler gauge or thin shim stock between the pin and the hinge body at the top hinge. If you don’t have a feeler gauge, a standard business card is about 0.014 inches, roughly equal to 1/64 inch; the gap should be noticeably tighter than two stacked cards. Do not attempt to disassemble a loaded hinge, and never remove a hinge pin from a gate that is attached to an operator; the tension in the system can release suddenly and the gate can drop hard.
When a hinge truly fails, the repair involves setting the gate back to level and often welding or replacing the bracket. That’s a two-person job with the right equipment, and it’s one of the places where a documented record from earlier inspections pays off, because the technician can see exactly how long the gap has been growing.
Operator Amp Draw: The Underused Diagnostic
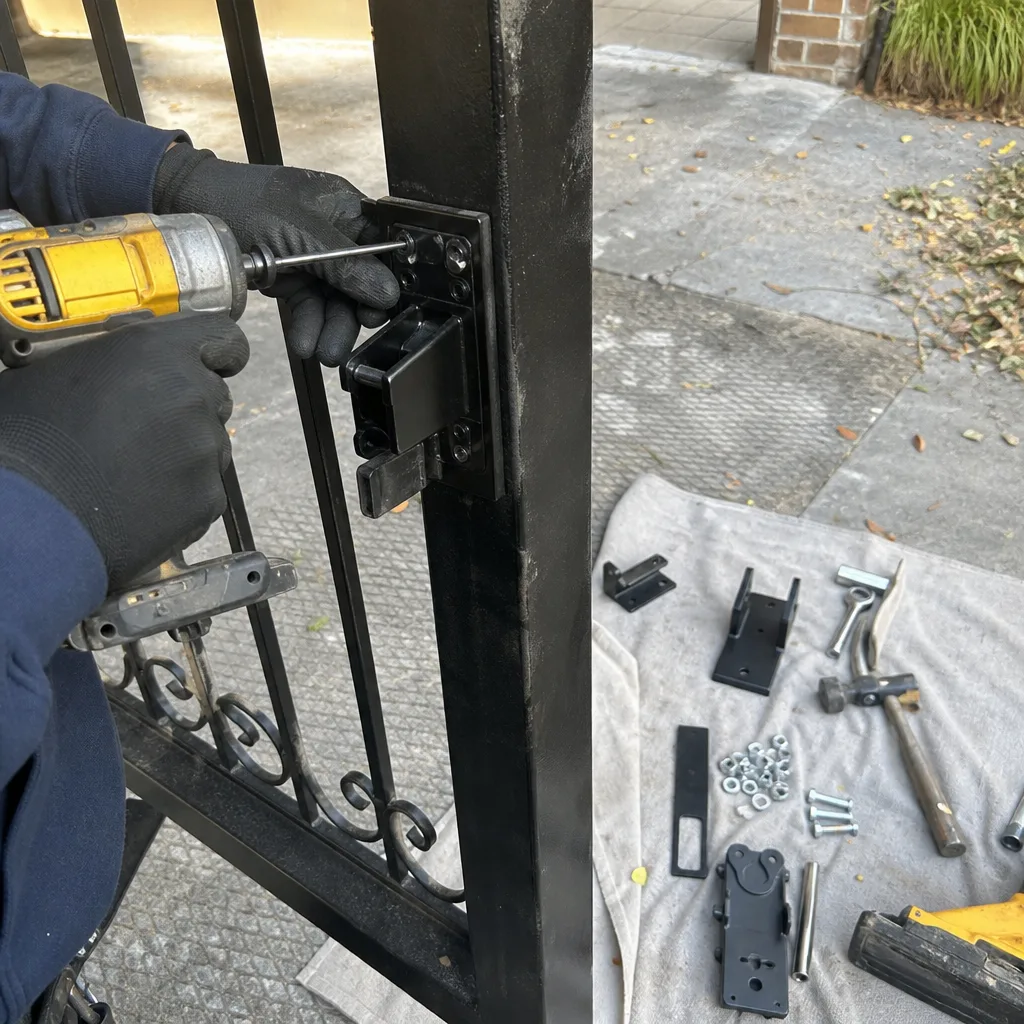
Every gate operator, whether it’s a Viking, Ghost Controls, or DoorKing unit, is rated to draw a certain amount of current during normal travel. When the gate mechanicals start binding, whether from a swollen post, a dry roller, or a misaligned track, the motor pulls more current to push through the resistance. A simple clamp meter reading during a full open-close cycle gives you a number that no visual inspection can: the actual electrical load on the motor under real operating conditions.
Typical amp draw ranges for residential operators in normal condition:
- Standard swing arm operators: 2 to 5 amps during normal travel, with a brief spike to 6 or 7 amps at first movement.
- Sliding gate operators: 3 to 6 amps during travel, with a spike up to 8 amps when starting on a cold morning.
- Ghost Controls and similar low-voltage systems: these measure differently because they run on a different architecture; the meaningful number is a consistent increase in runtime rather than an absolute amp figure.
We consider this a homeowner-documentable reading, not a repair task. A clamp meter that reads AC or DC current, depending on the operator, is a $30 to $60 tool, and you just clip it around one of the incoming power wires, run the gate once, and write down the peak and steady numbers. If your steady amp draw is 20% higher than the last reading with no temperature change, something mechanical is loading the motor. Most Murphy homeowners never take this reading, which is why a tired motor gets replaced when a simple roller or hinge adjustment would have fixed it.
When the reading falls outside the range for your specific model, that’s the time to bring in a professional who can trace the load through the mechanism. Amplifier draw data is exactly the kind of evidence we log on every visit under our Haven Standard documentation, because the next technician needs a baseline to compare against.
Safety Sensors: Alignment, Lens Condition, and Response Time
Every automatic gate in Murphy is required to have safety devices that stop or reverse the gate when something crosses the path. The most common is a photo-eye, which is an infrared beam that breaks the circuit when interrupted. When a photo-eye goes out of alignment, the gate often refuses to close, or refuses to stay closed, and the homeowner interprets that as a control-board failure. The photo-eye is usually not failing; it’s just pointing at the wrong spot.
Three checks you can do in fifteen minutes:
- Visually inspect the lenses. Wipe both lenses with a dry microfiber cloth. A spider web can triple the failure rate of a perfectly aligned photo-eye.
- Watch for the indicator light. Most photo-eyes have a small LED that shows solid when aligned and flashing when not. If it’s flashing, the beam is not hitting the receiver.
- Break the beam intentionally. With the gate in mid-travel, or while it’s open, block the beam with your hand. The gate should not close while the beam is interrupted. If it closes anyway, the safety circuit is bypassed or the sensor has failed.
We use a pass/fail standard here: the gate must not close while an object on the path breaks the beam, and the gate must close smoothly within ten seconds when the path is clear. Anything less than that is a repair item, not a maintenance item. Do not attempt to rewire or bypass a safety sensor yourself; an electric gate is a high-current system and an incorrect bypass can leave the gate able to close on a person or vehicle.
Some Murphy homeowners ask whether a safety edge, the pressure-sensitive strip on the gate edge, replaces a photo-eye. It does not. A photo-eye is the primary device; the safety edge is a backup that reverses the gate if contact is made. A functioning gate should have both working.
Limit-Switch Travel: Setting the Stop Point Correctly
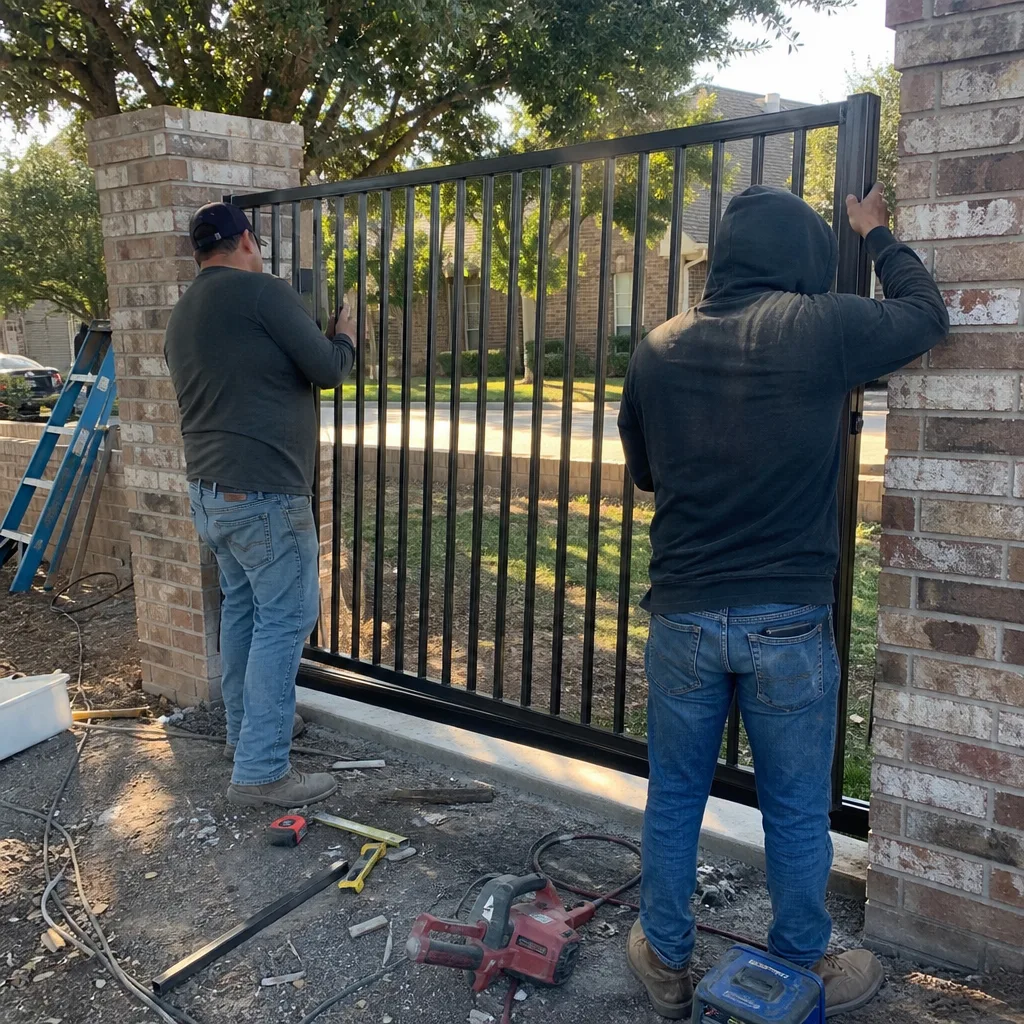
The limit switch is the device that tells the operator where the open and close positions are. When it’s set too far, the gate bangs against the stop at the end of travel and transmits that shock through the chain, belt, or arm every single cycle. When it’s set short, the gate doesn’t fully open or close, and the operator continues to push against air or against a hard stop, which drives up amp draw.
Here is how a careful homeowner can document limit-switch behavior without opening the operator cover:
- Run the gate to full open. Stand at the hinge side and listen. A sharp thud, a slam, or a visible bounce at the end of travel means the limit is set past the stop point.
- Run the gate to full close. Watch the latch. If the gate reaches the close stop and the operator keeps running for more than one second, the limit is too far.
- Note the gap at each end. The gate should stop within a half inch of the stop without striking it hard. Any gap larger than an inch means the gate is short-cycling.
Adjusting limit switches is a straightforward task on most brands when you have the manual, but it is also one of the most commonly botched homeowner repairs. We’ve seen limit switches set 12 degrees past travel on a Viking unit because the homeowner turned the adjustment screw the wrong direction and didn’t have a reference for the correct setting. If you adjust a limit switch, photograph the starting position before you turn anything, and write down the number of turns in each direction. If the adjustment does not hold, or the gate drifts past the set point after several cycles, the switch itself is failing and should be replaced.
For homeowners who prefer not to open the operator at all, Gate Motor & Opener in Murphy explains what a professional limit-switch service includes and how we document the setting on every job.
The Photo Log: How to Document So Any Technician Can Read It
A maintenance log that says “checked gate, looks fine” is worse than no log at all, because it gives the next technician a false sense that the gate was examined. The log needs specific measurements, dated photos, and enough context that a stranger can tell what the gate looked like on the day you checked it.
Here is the format we recommend for a Murphy homeowner, and it takes under two minutes per item:
- Date and weather. Write it at the top of the page. Clay-soil readings mean nothing without the weather, because a post that is plumb in August may be tilted in February.
- Post plumb reading. One line per post: “North post, east side, 1/16 inch off plumb over 4 feet.”
- Hinge gap measurement. “Top hinge: business card slides with resistance. Bottom hinge: two cards fit with gap.”
- Operator amp draw. “Steady 4.2 amps opening, 4.8 closing, no spike above 6.”
- Photo-eye alignment. “Cleaned lenses, LED solid on both, beam broke travel and gate stopped.”
- Limit-switch observation. “Gate stops soft at close, 1/2 inch gap at open, no bounce.”
- Photos. Four shots minimum: the post base, the hinge detail, the operator with cover closed, and the full gate from ten feet back.
We file this exact format on every service visit under our Haven Standard, because the repair record from 2019 should inform the tune-up in 2023. A homeowner who keeps a simple notebook with these seven lines per inspection is doing the same thing for a fraction of the cost, and any technician who arrives later will know exactly what the gate looked like and what changed. That’s the difference between diagnosing a problem in one visit and guessing across three.
Common Mistakes to Avoid
- Lubricating everything with a single can of spray. Hinges need a lithium or polymer grease; chains need a lighter chain oil; roller bearings need nothing but cleaning in most cases. One spray for all three does more harm than good because it attracts dust and creates a grinding paste.
- Ignoring a gate that works “fine” until it doesn’t. Most gate failures in Murphy give weeks of signal before the failure: a new sound, a slower cycle, a small lean, a flashing sensor. Noting the signal in a log is what turns a $400 repair into a $200 adjustment.
- Adjusting the limit switch without a reference. If you turn the screw, photograph the start position first. Without that photo, you have no baseline, and a misadjusted limit switch can cause the gate to slam through the stop and crack a weld.
- Assuming the opener is the problem. When a gate starts struggling, most people blame the motor. The motor is usually the last component to fail. The post, hinge, roller, or track is the culprit more often than not, and the amp draw reading will tell you which one is loading the system.
- Skipping the photo-eye check because the gate still opens. A photo-eye that’s misaligned but not fully failed can let the gate close slowly or fail intermittently. The first time it fails with a kid’s bicycle in the path, the bill is a lot bigger than a service call.
- Waiting until the lean is visible to the naked eye. By the time a post lean is obvious from the street, the footing has already moved far enough to strain every connected component. The quarter-inch-per-foot threshold is your early warning, not your emergency alarm.
When to Call a Professional
Call a professional when any reading lands in the fail range on this checklist and you are not certain what the repair involves. A post that has shifted more than a quarter inch per foot, a hinge gap over 1/8 inch, an operator drawing more than 6 amps steady, or a photo-eye that will not align after a lens cleaning are all jobs where the wrong homeowner fix makes the real fix more expensive. Electric gate systems carry high current, loaded hinges carry the full weight of a heavy leaf, and a spring or operator under tension can release without warning. If the issue is safety-related or involves the operator wiring or a loaded spring, a trained technician is the right call.
Vance Gate Repair Murphy offers free estimates in Murphy, and every visit includes a written price before work starts and a documented photo record when the technician leaves. Call (469) 613-2832 to schedule an inspection.
Frequently Asked Questions
Most gate repairs in Murphy run between $180 and $650 depending on the component: a hinge adjustment or sensor realignment is typically $180 to $300, while a post re-set, hinge replacement, or opener repair often falls between $400 and $900. The price is always quoted in writing before work starts, so call (469) 613-2832 for an exact quote; estimates are free.
Yes, for emergency repairs we dispatch the same day in Murphy, and a live person answers the phone 24/7 at (469) 613-2832. No voicemail loop, no callback queue.
A full maintenance visit includes post plumb measurement, hinge gap inspection, operator amp draw reading, photo-eye alignment and response test, limit-switch verification, chain or belt tension check, and a written photo log of every reading. Expect 60 to 90 minutes on site.
Yes, we service Ghost Controls, Viking, and DoorKing, along with six other major automation brands, so the motor already on your Murphy property is the motor we repair first, not the one we replace on principle. A brand-specific service is priced the same as any other repair.
Twice a year is the right rhythm for Murphy’s clay soil: once after the spring rains settle and once before the summer heat hardens the ground. Each inspection takes about ninety minutes and the only tools you need are a level, a tape measure, a phone camera, and a notebook.
Yes, we run the electrical, install the photo-eyes and safety edges, and document every connection with a wiring diagram and photos before the gate is commissioned. A new gate installation in Murphy includes the full safety system, not just the metal and the motor.
The Bottom Line
A gate maintenance checklist only earns its keep when it tells a homeowner what a specific condition means, not just what to look at. The six readings here, post plumb, hinge gap, amp draw, sensor response, limit travel, and the photo log, give you measurable thresholds you can check on a Saturday morning with basic tools. In Murphy, where clay soil moves posts and wet winters accelerate wear, the difference between a gate that lasts twenty years and one that needs a major repair is usually caught in these routine numbers. If a reading falls outside the pass range, or you’d rather have a professional take the readings and hand you the written record, explore our more guides & resources or call Vance Gate Repair Murphy at (469) 613-2832. A free estimate, a written price, and a documented record on every visit is how we’ve done it since Adrian Vance founded the company in 2014.
Written by Adrian Vance, Owner at Vance Gate Repair Murphy, serving Murphy since 2014.