
Last updated September 20, 2026
Free on-site gate assessment - hinges, posts, and your LiftMaster or Nice gate operator checked before anything is quoted
The assessment is free and the quote is the invoice.


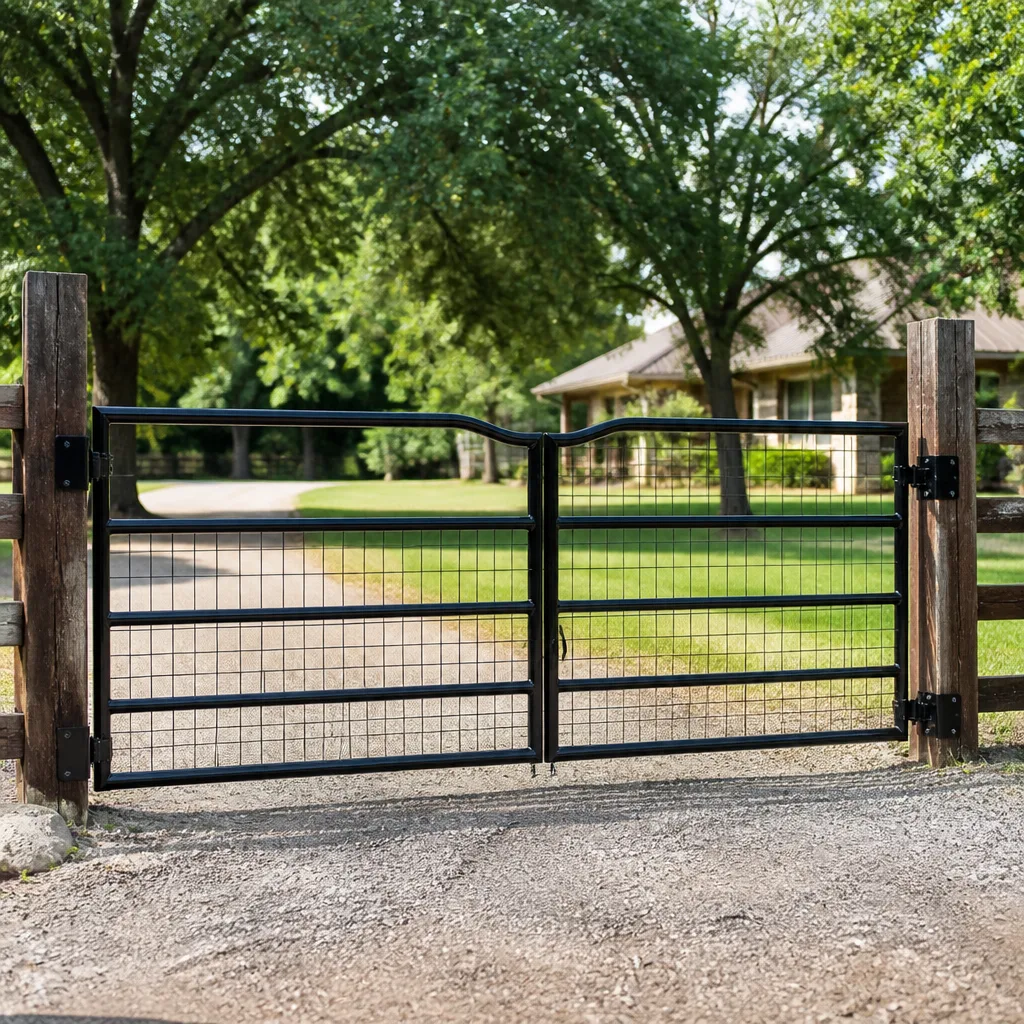
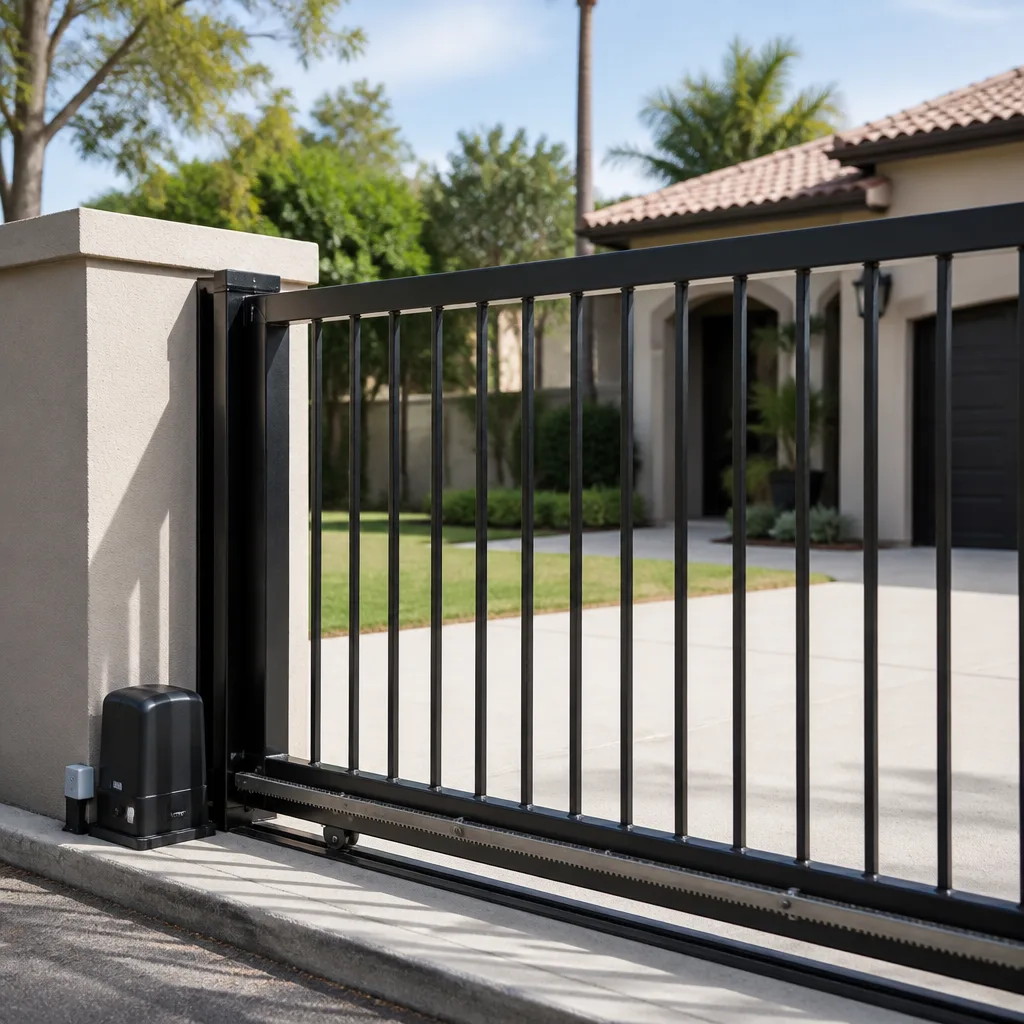

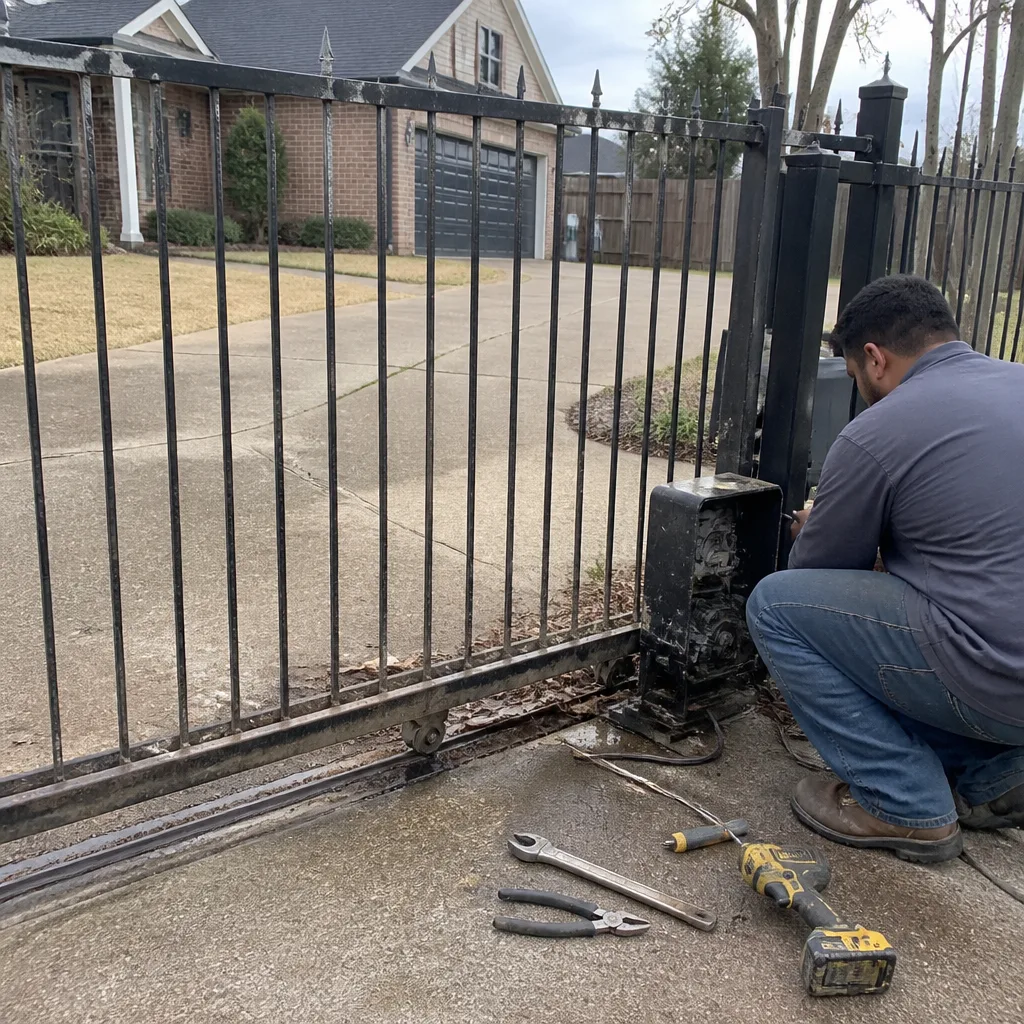 Before
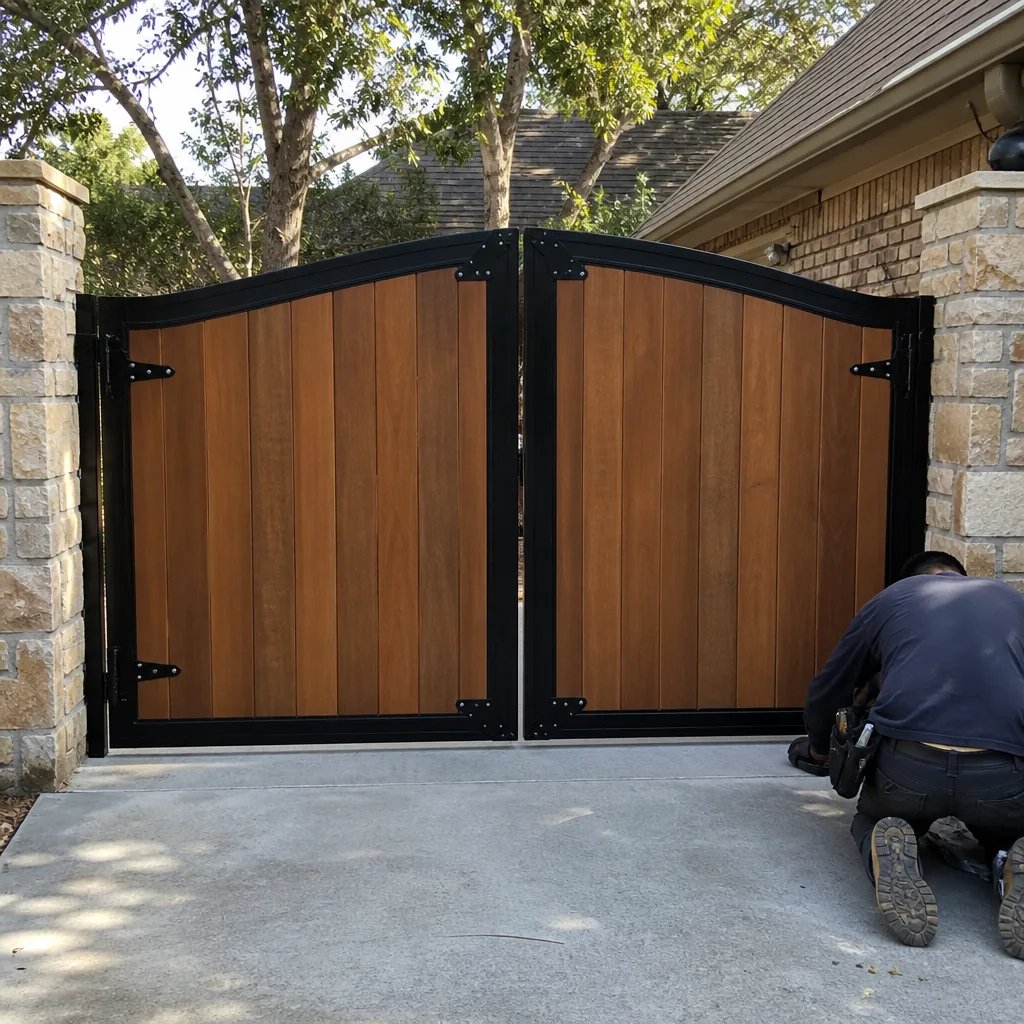 After
After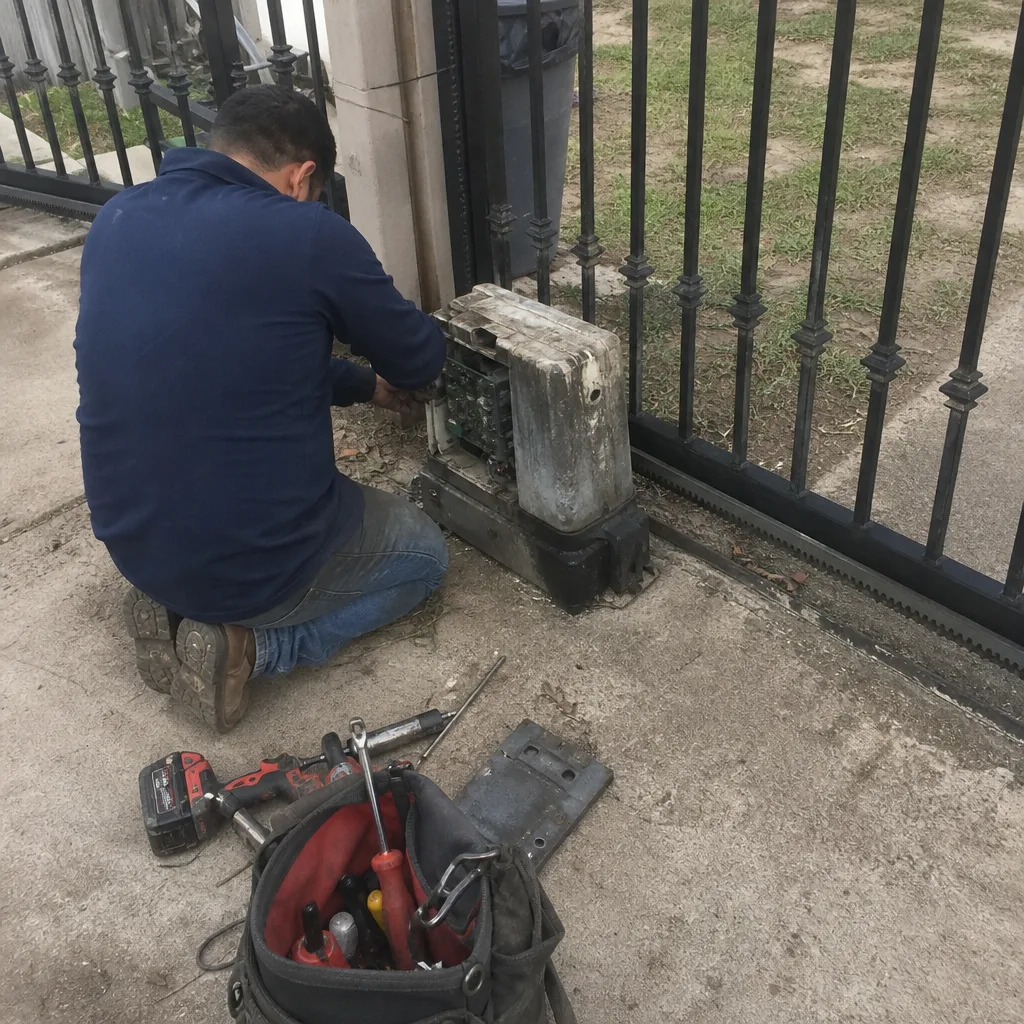 Before
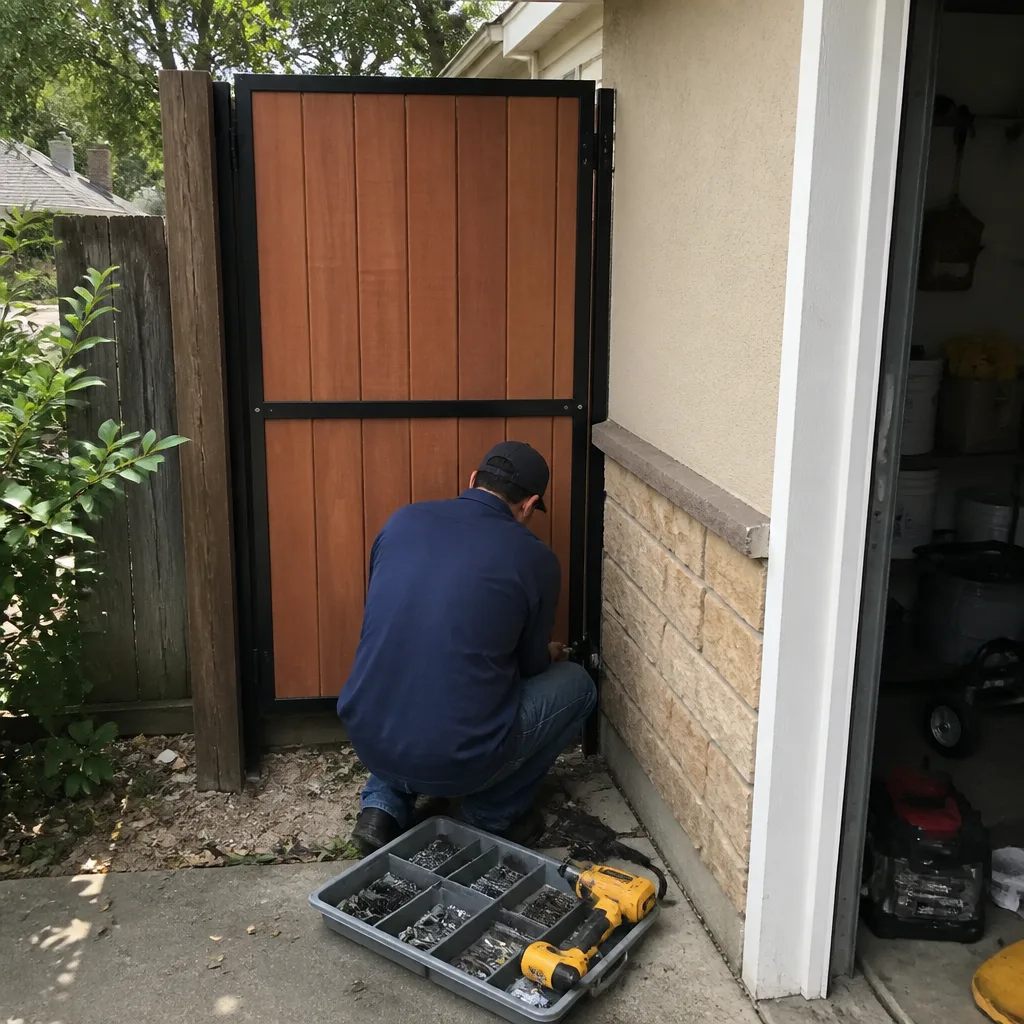 After
After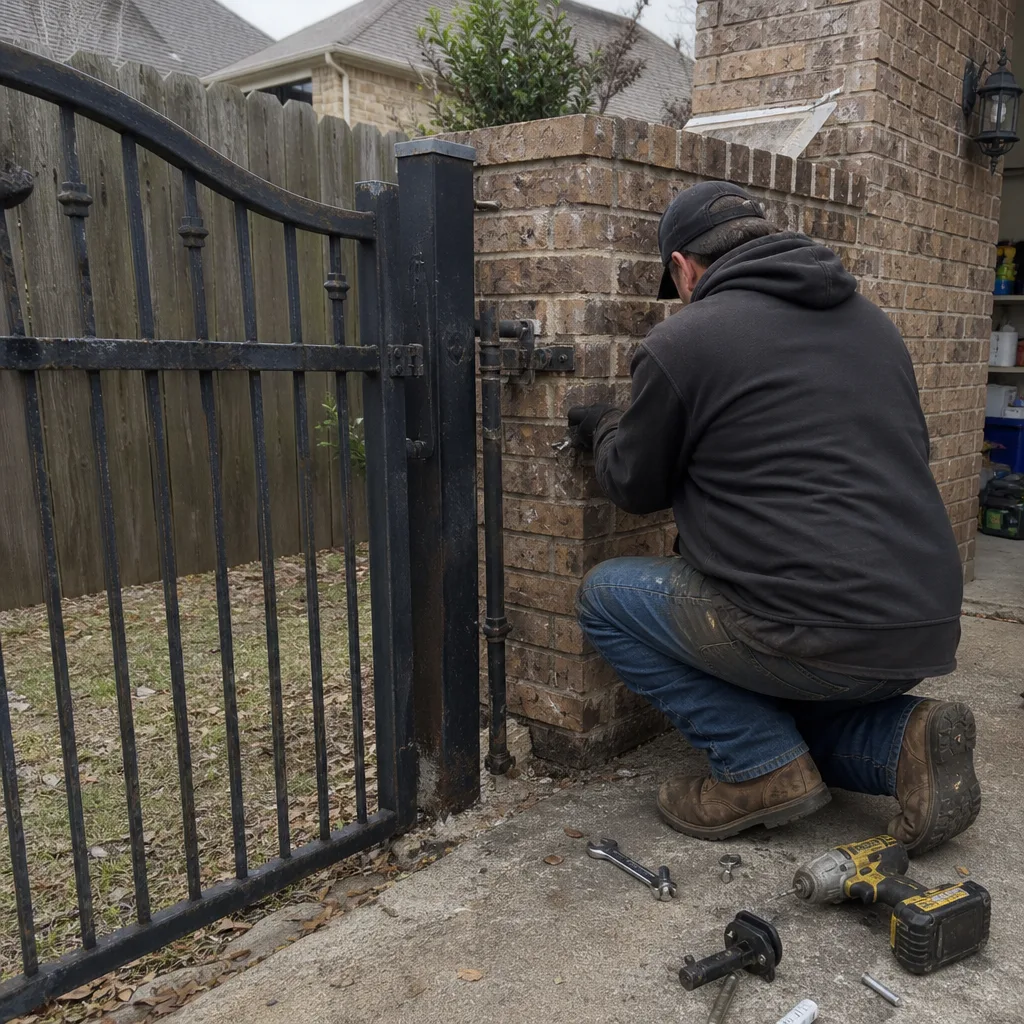 Before
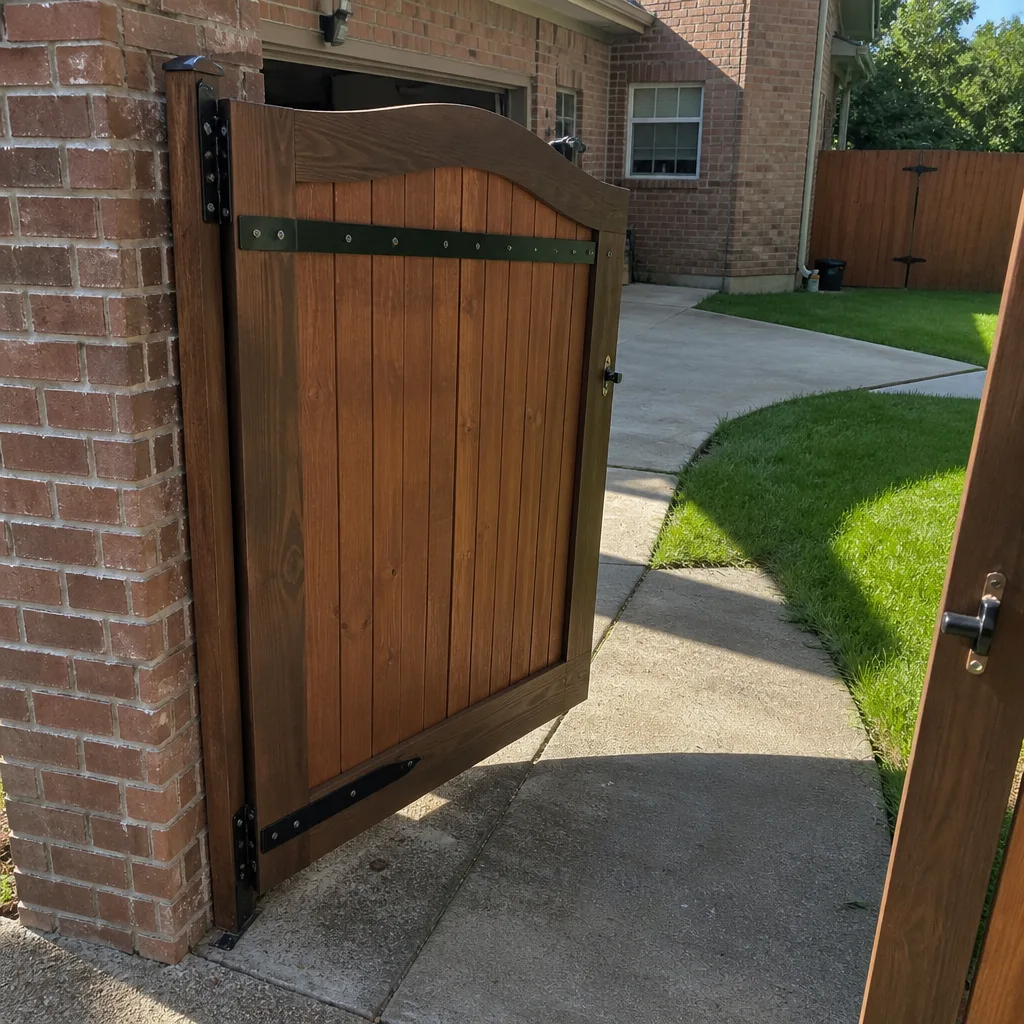 After
AfterDIY vs Professional Gate Repair: The Murphy Homeowner’s Decision Guide
The gate repairs most likely to be attempted as do-it-yourself projects are limit-switch adjustments and operator resets. Those are also the repairs most likely to mask a developing mechanical problem if done without a full system check first. This guide separates gate work into three clear categories: what a careful Murphy homeowner can reasonably handle, what belongs with a licensed electrician, and what requires our Gate Repair services with brand-specific training. We’ll walk through the documentation gap that costs DIYers money later, the specific clay-soil risk in Murphy that changes how post adjustments should be approached, and a five-minute observation checklist you can use before touching anything.
Quick Answer
Most cosmetic and non-load-bearing gate work is reasonable for a careful homeowner in Murphy. But any repair involving high-tension springs, the gate’s electrical supply, or automation logic is not a safe weekend project. The real dividing line isn’t skill; it’s whether the repair produces documentation that will matter to a future technician, an insurer, or a manufacturer warranty claim. If the work involves a motor, a spring under tension, or a limit switch that controls travel, hire a professional.
Table of Contents

- The Three Categories of Gate Repair
- What’s Safe and Reasonable for a Careful Homeowner
- What Requires a Licensed Electrician
- What Voids Manufacturer Warranties
- The Documentation Gap in DIY Repairs
- The Five-Minute Observation Checklist Before You Touch Anything
- Why Murphy Clay Soil Changes the DIY Calculus
- How to Document a DIY Repair So It’s Useful, Not a Liability
- Common Mistakes to Avoid
- When to Call a Professional
- Frequently Asked Questions
- The Bottom Line
BeforeAfterThe Three Categories of Gate Repair
Gate work in Murphy doesn’t split neatly into “easy” and “hard.” It splits into three categories based on what can go wrong and what documentation the job will generate. Confusing one category for another is where most DIY repairs turn into expensive professional problems.
Category one: Mechanical and cosmetic work. This includes tightening hinge bolts, lubricating rollers and tracks, replacing a bent picket, touching up powder coating, adjusting a latch plate, and clearing debris from the track. A homeowner who works carefully and owns basic tools can handle most of this. The stakes are low, the failure modes are visible, and the work rarely interacts with anything electrical or structural.
Category two: Electrical work. Running a new circuit to a gate opener, repairing damaged supply wiring, replacing a capacitor inside a motor housing, and anything involving the breaker panel belongs with a licensed electrician. This is not a skill issue. It’s a code and liability issue. Murphy sits in Collin County, and electrical work on a gate circuit falls under the same permit expectations as any other branch circuit. A homeowner can legally perform some electrical work on their own property in Texas, but the liability exposure changes the moment the gate automates or serves a shared driveway.
Category three: Automation and structural work. This includes spring replacement, limit-switch calibration on an operator arm, photo-eye alignment, motor replacement, hinge replacement on a heavy gate leaf, and post or footing repair. Some of this is deceptively simple-looking. A limit switch is just a small component in a dark box. But setting it wrong by a few degrees means the motor runs past its intended travel, and that’s how operators burn out. This category is where documentation matters most, because a future technician needs to know what was adjusted and by how much.
What’s Safe and Reasonable for a Careful Homeowner
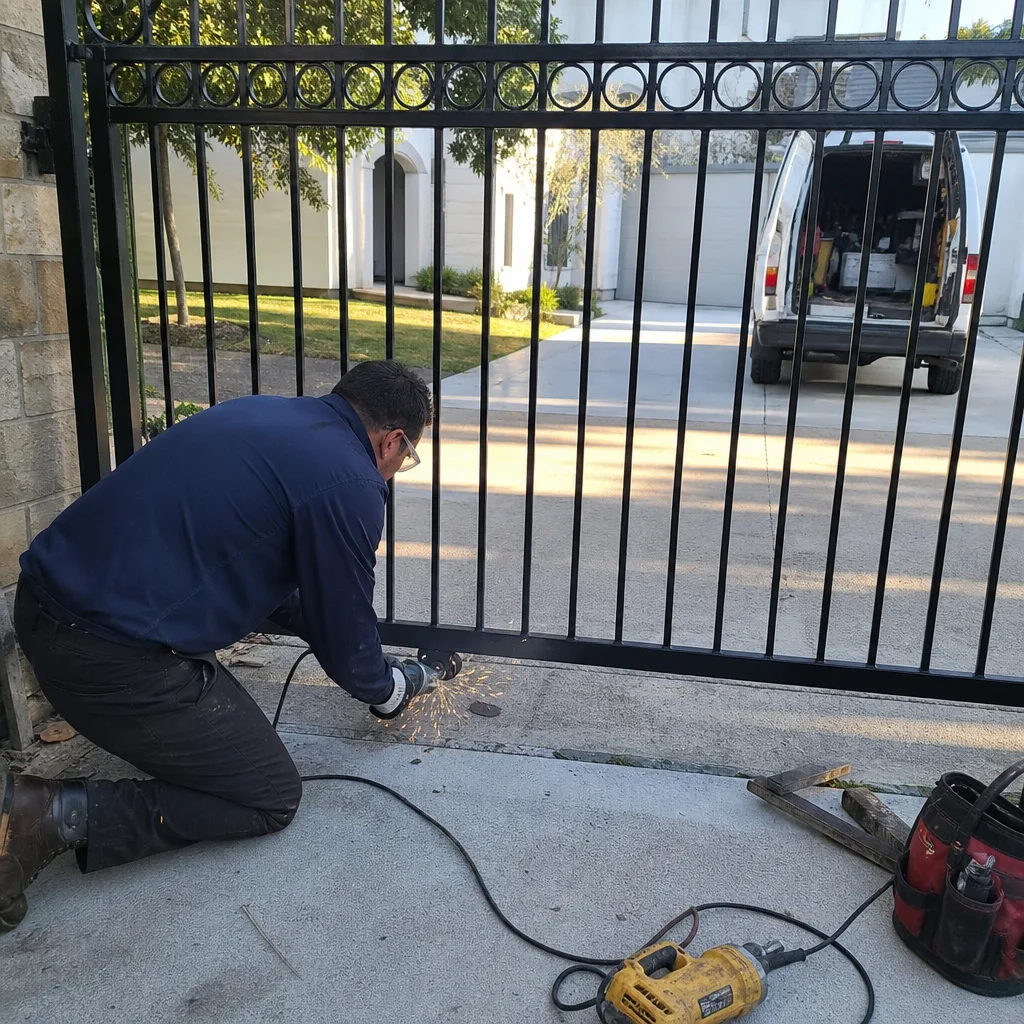
Some gate work genuinely belongs in the homeowner’s hands. The distinction is whether the part you’re touching is under load, connected to power, or controlling travel limits. Here’s what we tell Murphy residents is reasonable to attempt themselves.
- Lubricating hinges, rollers, and track components. Use a silicone-based or lithium spray, not WD-40, which displaces grease and leaves metal dry. Wipe away excess so dust doesn’t cake into a grinding paste. This is seasonal maintenance in Murphy, where spring winds carry fine soil into every moving joint.
- Tightening visible bolts and fasteners. If a bolt is loose and visible, and you can reach it without removing the gate leaf, tighten it. Use the correct socket size. Don’t guess with an adjustable wrench; you’ll round the head. Check the hinges on a swing gate or the roller brackets on a slide gate every few months.
- Clearing debris from slide-gate tracks and V-wheels. Murphy lawns produce grass clippings, and spring storms push oak leaves and twigs into the track channel. A shop vacuum and a stiff brush handle most of it. Check that the V-wheels actually spin; a wheel that’s seized and sliding instead of rolling will wear a flat spot into the track.
- Replacing a single bent picket or fence board. This is cosmetic, as long as the gate frame itself is straight. Match the material and gauge. If the gate is steel, use a self-tapping screw and touch up the coating with a zinc-rich primer before the color coat. Surface rust in Murphy’s humid summers starts fast.
- Adjusting a simple mechanical latch or gate stop. If the latch doesn’t engage cleanly, adjusting it is usually a matter of loosening two bolts and repositioning. Take a photo of the original position before you move anything.
- Repainting or treating wood gate surfaces. Wood gates in Murphy need resealing every two to three years. Heat and June-through-September sun dry out the grain faster than most homeowners expect. This is purely homeowner work.
If you finish any of these tasks and the gate stops moving smoothly, stop and look at the larger system. A hinge that was loose and got retightened may have been loose because the post shifted in clay soil. That’s a structural issue, not a fastener issue, and it won’t fix itself.
What Requires a Licensed Electrician
There’s a category of gate repair that has nothing to do with mechanical skill and everything to do with code compliance and personal safety. The moment the job touches the electrical supply, a licensed electrician is the correct call, regardless of how confident you feel with a multimeter.
Running a new circuit from the panel to the gate. Most gate openers in Murphy run on a dedicated 15-amp or 20-amp circuit. Adding one is a panel job, not a gate job. It requires the same permitting and inspection process as any other branch circuit in Collin County. A gate technician may coordinate with an electrician, but the electrical work itself is a separate trade.
Repairing damaged supply wire between the house and the gate. Underground wire gets hit by edgers, undermined by clay shifting, and gnawed by rodents. If you see intermittent operator failure that correlates with rain, and the breaker doesn’t trip, you likely have a compromised supply line. Digging and splicing without knowing the burial depth or conductor condition is how electrical fires start. Have an electrician evaluate it.
Any work inside a breaker panel. This is not negotiable. If the gate’s breaker keeps tripping, the cause is either a short in the wire run or an internal fault in the operator. Either way, the panel itself is not the place to start. An electrician can isolate the branch circuit and test it under load.
Adding a new outlet or disconnect near the gate. If you’re planning a gate upgrade and the existing setup has no dedicated disconnect within sight of the operator, an electrician should install one. It’s a code requirement and a safety feature: it lets anyone servicing the gate kill power right there instead of walking back to the panel.
The pattern here is simple. If the problem is that power is not reaching the operator, or the operator is drawing power incorrectly, call an electrician. If the operator receives power and still doesn’t work, that’s gate technician territory. Knowing which one you’re dealing with saves time and money.
What Voids Manufacturer Warranties
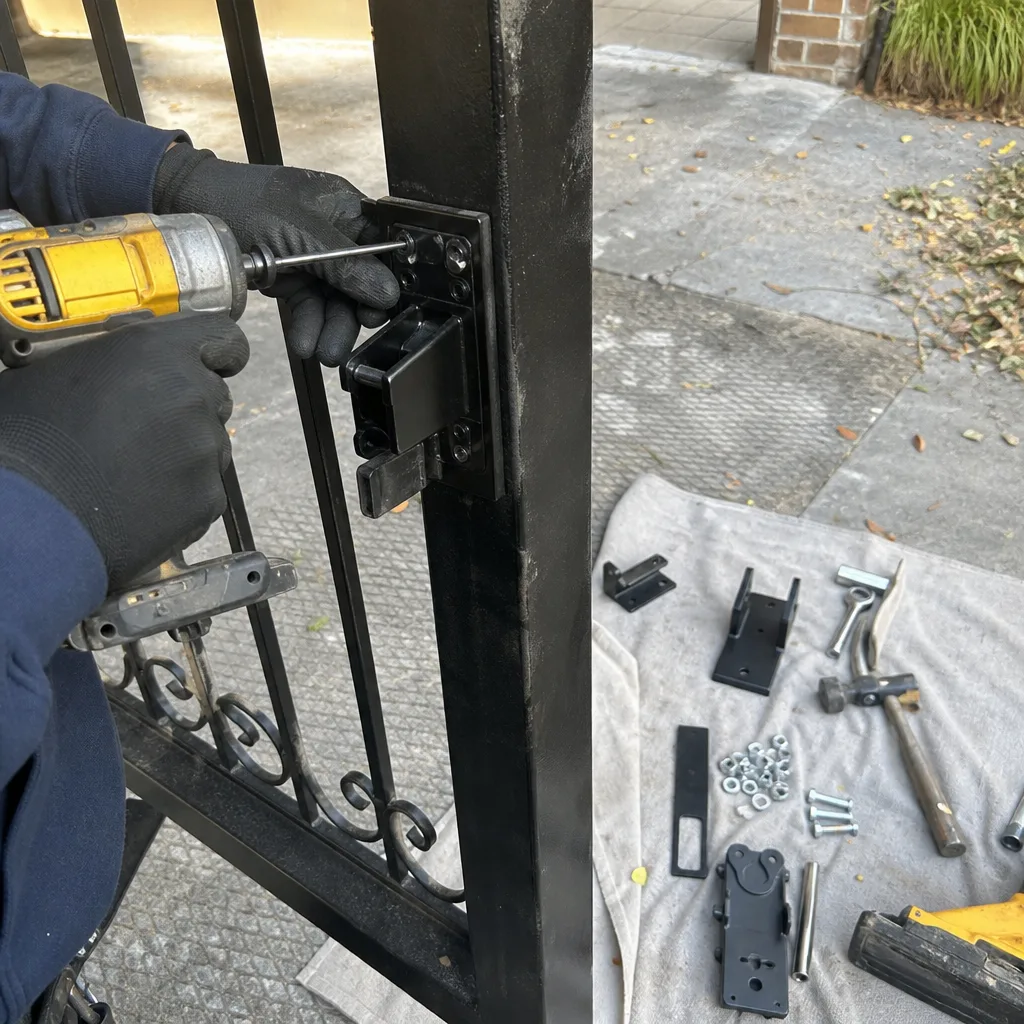
This is the section most DIY guides skip, and it’s the one that costs homeowners real money. Every major gate-automation brand has specific language in its warranty document about who may perform adjustments and replacements. Brands like Linear, Viking, Ghost Controls, and DoorKing all structure their warranty coverage around authorized installation and service. A homeowner who opens the motor housing and starts adjusting things may be voiding the exact coverage they’re trying to protect.
Here’s what the warranty language typically says, translated into plain terms:
- Limit-switch adjustments performed by anyone other than a qualified technician may void coverage on the operator. The limit switch is the component that tells the motor where to stop. If it’s misadjusted and the motor is damaged as a result, the manufacturer will ask who set it. “I set it myself” is not the answer their warranty department wants to hear.
- Replacing a control board yourself generally voids the remaining warranty on the entire operator. Control boards are static-sensitive and easy to damage during handling. Manufacturers know this and write it into the fine print. A professional installation keeps the board’s own warranty intact.
- Using non-OEM parts inside the operator housing voids coverage. An aftermarket capacitor or a generic limit switch housing that fits “most operators” is not the same as the factory part. If the operator fails after a generic part is installed, the manufacturer will attribute the failure to the part.
- Damage resulting from a misaligned photo-eye that was self-adjusted may not be covered. Ghost Controls and DoorKing both specify photo-eye alignment procedures in their installation manuals. A photo-eye that’s pointed at the ground instead of the reflector can cause the gate to reverse unpredictably. If that leads to a vehicle strike, the manufacturer will look for the installation record.
Read your operator’s manual before opening the housing. The warranty section is usually short and very specific. If the work you’re considering appears in that section’s exclusions, that’s the signal to call a professional who can perform the work without breaking the coverage. For Murphy homeowners with a newer operator, especially one still under a five-year motor warranty, protecting that coverage is often worth more than the cost of a service call. See our Gate Repair Cost Breakdown: The Murphy Homeowner’s Reference for 2026 for typical pricing.
The Documentation Gap in DIY Repairs
When a homeowner adjusts a limit switch, replaces a capacitor, or repositions a photo-eye, they typically accomplish the repair and then move on with their day. What they don’t produce is a record of what was found, what was changed, and what the settings were before the work began. That absence is the documentation gap. It’s the difference between a gate repair that creates a useful service history and one that creates a diagnostic mystery for the next person who opens that operator housing.
Here’s what that gap looks like in practice. A Murphy homeowner notices the gate stopping a few inches short of the closed position. They open the operator cover, find the close limit switch, and turn it a quarter turn. The gate now closes fully. Problem solved. Six months later, the motor begins overheating and shutting down. A technician arrives and faces a limit switch set at an unknown position compared to the factory setting. The motor has been running against its internal stop because the limit was overcorrected. To diagnose it properly, the technician has to reset everything to baseline and work forward. That’s billable time spent reconstructing information that could have been recorded in ninety seconds.
The same gap exists with part numbers. When a homeowner replaces a capacitor or a control board, the old part usually goes in the trash. The new part was ordered by whatever the homeowner could find online that “looked right.” No record exists of the exact part number installed. If the operator fails under that part, a future technician has to open the housing, remove the component, and identify it before a diagnosis can begin.
Professionals close this gap by habit. At Vance Gate Repair Murphy, every job leaves a written record: what was found, what was adjusted, what was installed, and the part number. A photo log documents the before and after state. That record exists so the next technician, whether from our company or someone else’s, can see exactly what happened. A homeowner can create a simplified version of this record-our Gate Repair Maintenance Checklist for Murphy Homeowners offers a starting point. The important thing is that the record exists at all.
The Five-Minute Observation Checklist Before You Touch Anything
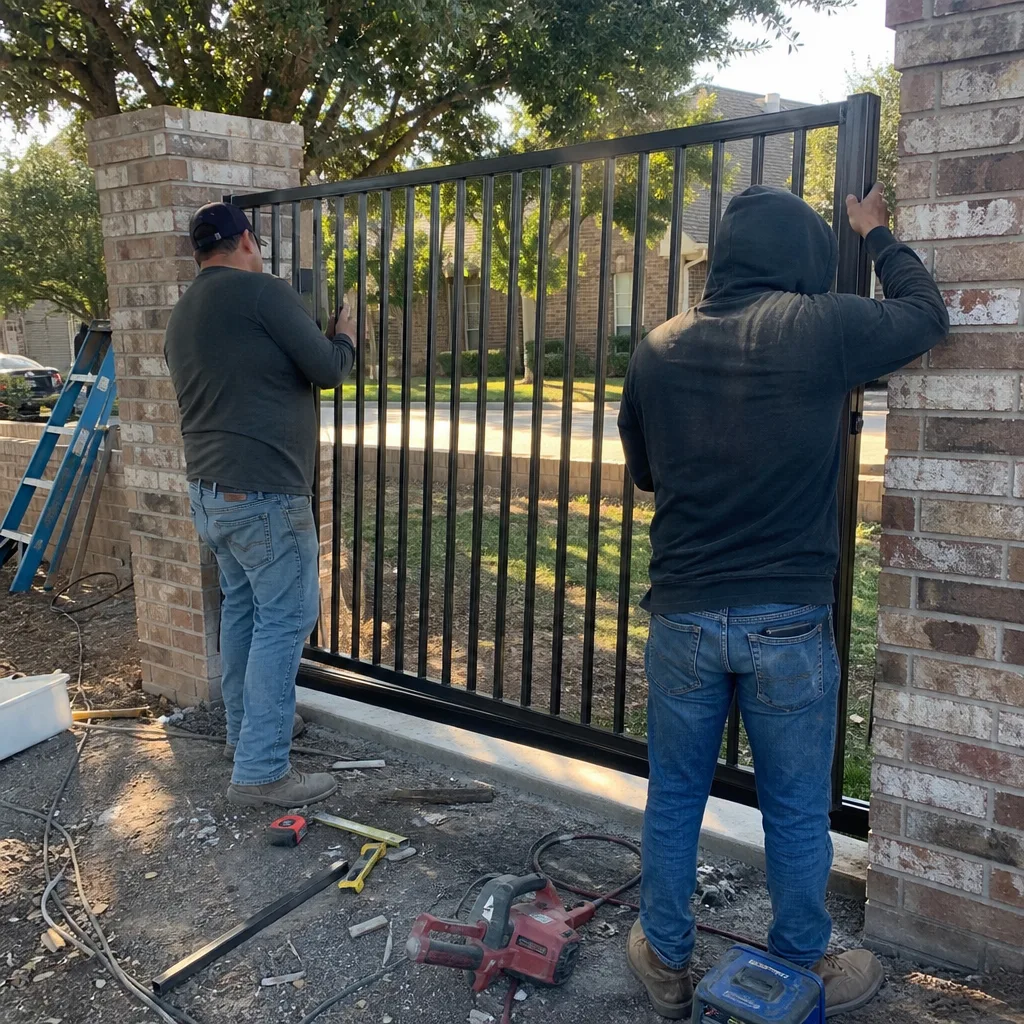
Before you adjust, disassemble, or replace anything on a misbehaving gate, spend five minutes observing it. This checklist is designed to separate simple mechanical issues from electrical or structural problems without exposing you to risk. Do all of this with the operator switched off at its service disconnect if you’re going to be near moving parts.
- Watch the gate run one full cycle. Stand back and observe. Does it hesitate at a specific point? Does it change speed? Does it stutter near the end of travel? Note the exact position where any irregularity occurs. If it’s a swing gate, watch the hinge side too; a gate that drops slightly as it opens indicates hinge wear, not a motor problem.
- Listen for new mechanical noise. A grinding sound near the hinge or roller suggests a bearing or wheel issue. A humming sound from the operator with no gate movement suggests a capacitor or motor problem. A clicking sound from the control board area may indicate a relay engaging improperly. Don’t open the operator housing yet. Just note the sound and its location.
- Look at the gate’s physical relationship to its track or posts. Is the gate leaf level? Does the gap between the gate and the post change from top to bottom? A gate that’s sagging on its hinges or sitting proud of its track has a mechanical problem that limit-switch adjustments will not solve.
- Check the photo-eye alignment. Look at the two units mounted near the ground on either side of the gate opening. Most have a small indicator light. If the receiving eye’s light is off or flickering, the beam is misaligned or obstructed. Clean the lenses with a soft cloth first. If the light stays off, the alignment needs adjustment.
- Check the breaker and the operator’s power indicator. If the operator has no power light and the breaker isn’t tripped, check the service disconnect near the gate. If everything is on and the operator is still dark, the problem is inside the operator or the supply wire. That’s the moment to stop and call a professional.
Five minutes of observation generates useful information. A technician who arrives already knowing where the irregularity happens, what it sounds like, and whether the photo-eye light is on can diagnose faster. That saves you money. It also keeps you from opening a housing and touching energized components you haven’t evaluated yet.
Why Murphy Clay Soil Changes the DIY Calculus
Murphy sits on what the USDA soil survey classifies as Houston Black clay, the same expansive clay that runs across much of Collin County. It’s a soil that shrinks during dry spells and swells during wet periods. Driveways shift, slabs crack, and gate posts move. This matters for gate repair because a homeowner checking a gate that suddenly drags or binds may be seeing a soil problem, not a gate hardware problem.
The failure sequence in Murphy usually goes like this. A dry July shrinks the clay around a gate post. The post loses lateral support and tilts slightly toward the gate opening. The gate leaf, now hanging slightly out of plane, drags on its latch post or binds against its stop. The operator’s limit switch works harder to compensate. The homeowner sees a gate that “needs adjustment” and reaches for the limit switch. But adjusting the limit switch to accommodate a shifted post stores the problem in the automation system instead of fixing the post.
Here’s how to tell whether you’re looking at an adjustment or a structural issue:
- Check the post with a level. A post that’s more than a degree or two out of plumb is a structural problem. Limit-switch adjustments will not fix it.
- Look at the gap between the gate and the latch post. If it changes from top to bottom by more than a quarter inch, the post has moved.
- Examine the ground near the post for cracks that run parallel to the fence line. These are the classic signature of clay shrinkage.
- If the gate only binds during specific weather conditions, soil movement is likely the cause. A gate that binds in August but not in March is telling you something about the soil, not the hinges.
Repairing a shifted post in clay soil usually involves digging out the footing, re-setting the post in concrete, and bracing it while the concrete cures. That’s structural work. It’s not a hardware adjustment, and it’s not something a weekend with a socket set will resolve. For Murphy homeowners, the practical takeaway is this: if the gate’s behavior changes with the seasons, look at the soil before you look at the limit switch.
How to Document a DIY Repair So It’s Useful, Not a Liability
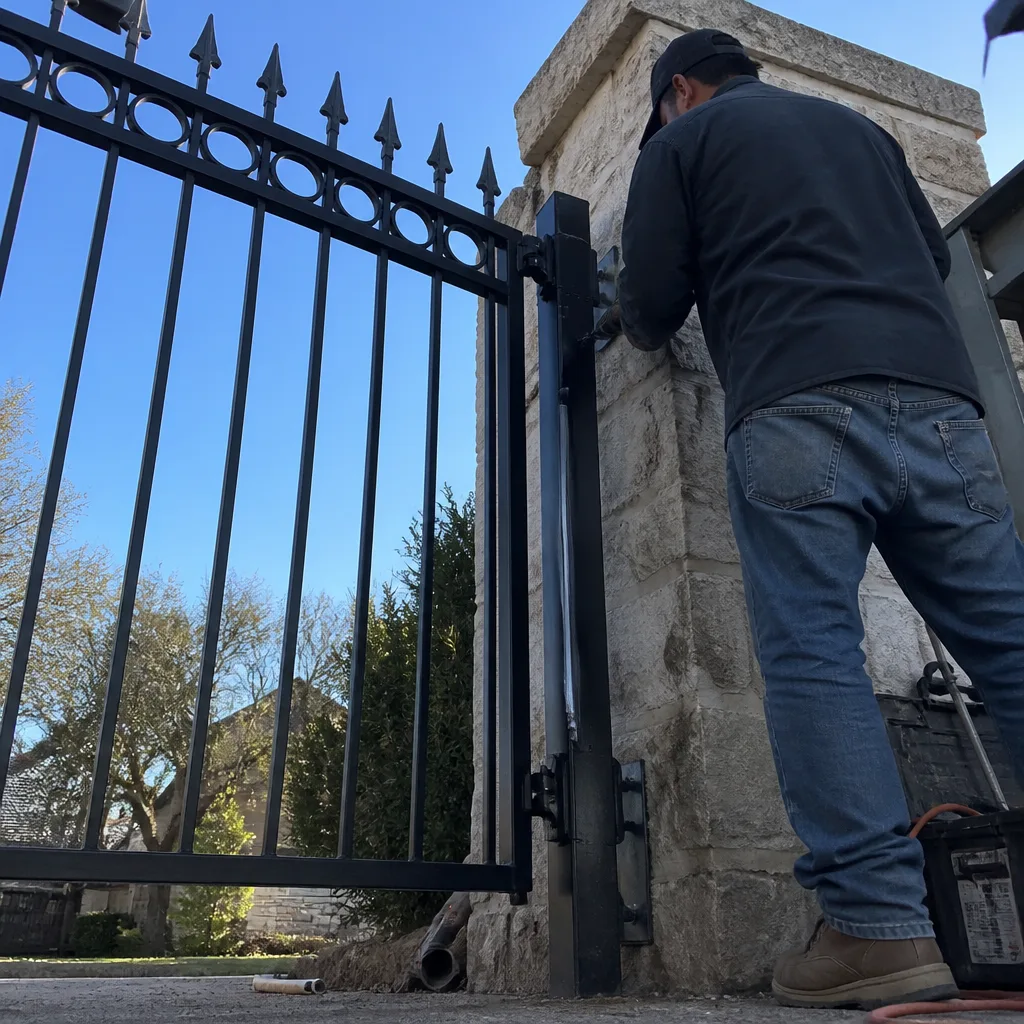
If you’ve determined that a repair falls safely into the homeowner category and you complete it, the most valuable thing you can leave behind is a record. A good record costs nothing and takes five minutes. Here’s what a useful documentation set looks like for a typical DIY gate repair.
Photograph everything before you start. Take wide shots showing the overall gate and tight shots showing the specific component you’re about to touch. Include the operator housing before it’s opened, the limit switch assembly, the hinge, the bracket, or whatever part is the subject of the work. These photos establish the baseline. If something goes wrong, they’re your evidence of the original condition.
Write down the part numbers. If you replace a capacitor, a board, a photo-eye, or a limit switch, record the exact part number from the old component and the new one. Many operators have these parts labeled inside the housing. Write down the operator model and serial number too, which is usually on a label near the motor or on the unit’s side. This information lets a future technician order the correct part without exploratory disassembly.
Record the settings before and after. If you adjust a limit switch, note the position before the adjustment and the position after. Many limit switches have a numbered dial or visible screw position you can describe. “Close limit was at 7, turned to 4” is useful. “Adjusted the limit” is not.
Note the date and the observed symptom. Write down what the gate was doing, what you found, what you did, and the date. Store this record near the operator or in a file with your home’s mechanical systems. If you replace a part, keep the receipt. Some warranty claims require proof of the replacement part’s origin, not just its installation.
The documentation habit in the commercial access-control world exists because technicians there work on systems that change hands over years. A residential gate is no different. The next owner of your Murphy home, or the next technician who works on that operator, will benefit from knowing what happened. And if a claim arises against a warranty or an insurance policy, a written record is worth more than a memory.
Common Mistakes to Avoid
- Adjusting the limit switch to compensate for a shifted post. In Murphy’s clay soil, a gate that binds in summer is often a structural problem. Adjusting the limit switch stores the damage in the motor and the operator instead of fixing the post. Have the post checked first.
- Opening the operator housing with power still connected. Some operator housings contain energized terminals even when the gate is not moving. Always kill power at the service disconnect before opening the housing, and verify with a non-contact voltage tester.
- Replacing a part with a “will fit” generic. A capacitor or limit switch that fits physically may not match the electrical specifications. This is how control boards fail and how warranty coverage evaporates. Use the exact part number from the manufacturer.
- Lubricating with WD-40. WD-40 is a water displacer, not a lubricant for gate hardware. It strips grease from hinges and bearings, leaving metal surfaces dry. Use silicone spray or lithium grease for gate components.
- Ignoring photo-eye diagnostic lights. Those tiny lights on the photo-eye units are diagnostic indicators. A flashing or extinguished light is telling you something about beam alignment or obstruction. Fixing the alignment is often easier than diagnosing an operator that won’t respond to a blocked beam.
- Failing to document what was changed. A repair without a record is a partially completed job. The next technician will spend billable time reconstructing your work. Ninety seconds of notes and photos changes that equation.
- Treating every gate problem as a motor problem. More than half the gate failures we see in Murphy are mechanical: hinges, rollers, brackets, posts, or track alignment. Before suspecting the operator, watch the gate move and listen to where the noise comes from.
When to Call a Professional
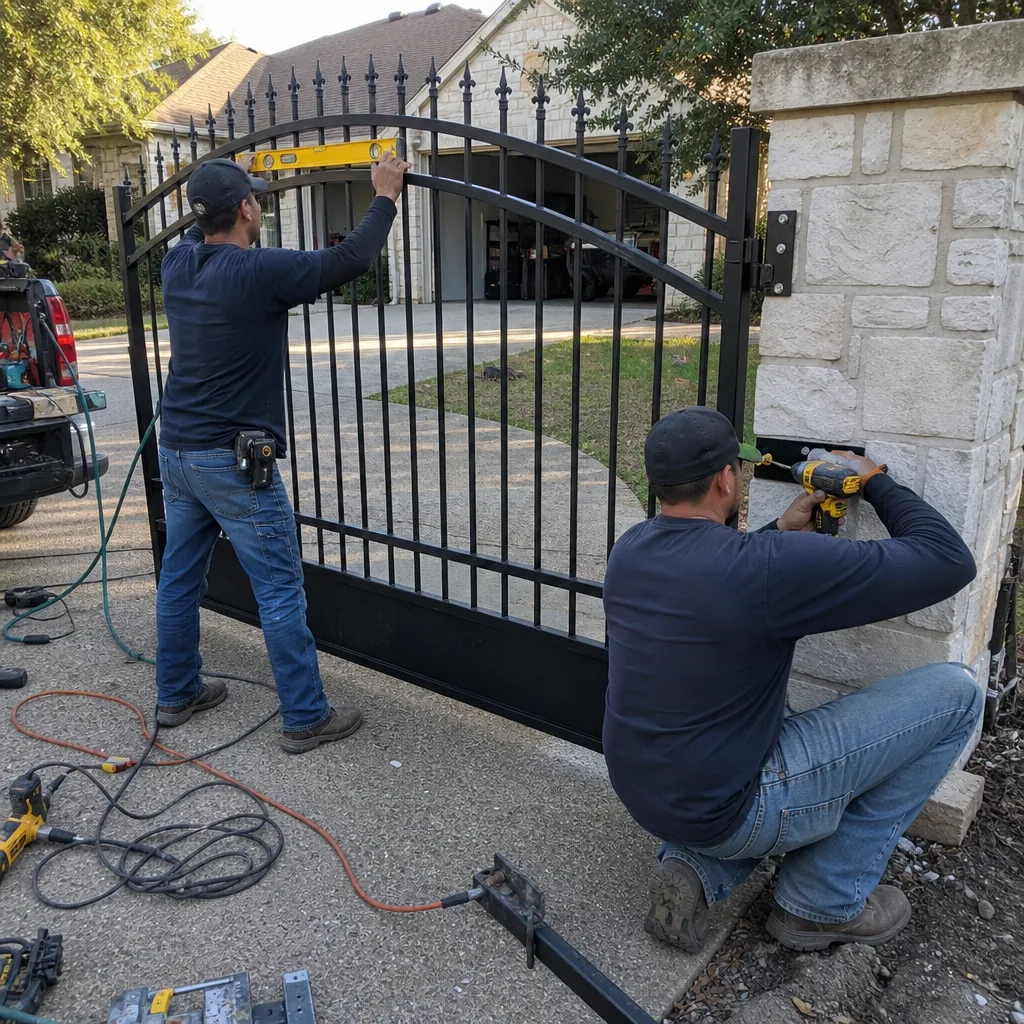
Call a gate professional when the repair involves the operator’s internal components, the springs, the motor, the control board, or any limit-switch calibration. Call when the gate’s behavior is intermittent, when it reverses without an obstruction, or when it makes a new sound you cannot localize. Call when the post is out of plumb or the gate has dropped on its hinges. Call when the operator is still under warranty and the repair you’re considering appears in the warranty exclusions. And call when the photo-eye cannot be aligned after cleaning and basic repositioning. Gate repair in Murphy requires knowing which component to address, and guessing wrong is more expensive than a service call. Vance Gate Repair Murphy offers free estimates in Murphy. Call (469) 613-2832 for an exact quote, written and handed to you before any work begins.
Frequently Asked Questions
You can safely perform cosmetic and non-load-bearing work: lubricating hinges and tracks, tightening visible bolts, clearing debris from slide tracks, replacing a single picket, and adjusting a mechanical latch. Anything involving line voltage, high-tension springs, the operator’s internal electronics, or a shifted post belongs with a professional. If you’re uncertain, spend five minutes on the observation checklist before making changes, or explore more guides & resources on our blog.
Most residential gate repairs in Murphy fall between $145 and $480, depending on the component and the operator brand. A hinge replacement might run $145 to $220. A limit-switch adjustment on a Linear or Viking operator typically falls around $120 to $200. A full motor replacement can run from $500 to $1,100 depending on the operator model and whether the arm bracket is intact. The most important pricing factor is whether the problem is diagnosed correctly the first time. Call Vance Gate Repair Murphy at (469) 613-2832 for a written estimate before any work begins.
Our repair work is typically scheduled for the same day or the next day, depending on dispatch and parts availability. A live person answers the phone 24 hours a day, seven days a week. Call (469) 613-2832 and we’ll tell you honestly when a technician can be at your Murphy property.
It often does. Brands like DoorKing, Ghost Controls, Linear, and Viking write warranty exclusions that apply to adjustments and replacements performed by unqualified individuals. The specific language varies by brand and model, but in general, opening the operator housing and adjusting limit switches, replacing boards, or installing non-OEM parts can void remaining coverage. Read your manual’s warranty section before opening the housing, or have a professional perform the work and maintain the warranty.
Murphy’s expansive clay soil shrinks in dry heat and swells after rain. This seasonal movement shifts gate posts, which changes the gate’s alignment and causes binding, dragging, or operator strain. If the problem correlates with weather patterns rather than cumulative wear, the cause is likely structural, not electrical. Adjusting the operator to compensate for a shifted post creates a larger problem later. Check the post with a level and look for soil cracks near the fence line.
Yes. Photograph the gate and the component before you start, write down the operator model and serial number, record the before and after positions of any adjustable component, note the part numbers of anything you replace, and include the date. Store the record near the operator. A documented repair saves money when a future technician needs to diagnose the same system, and it protects you if a warranty claim is disputed. Call (469) 613-2832 if you want a professional repair that includes this documentation automatically.
The Bottom Line
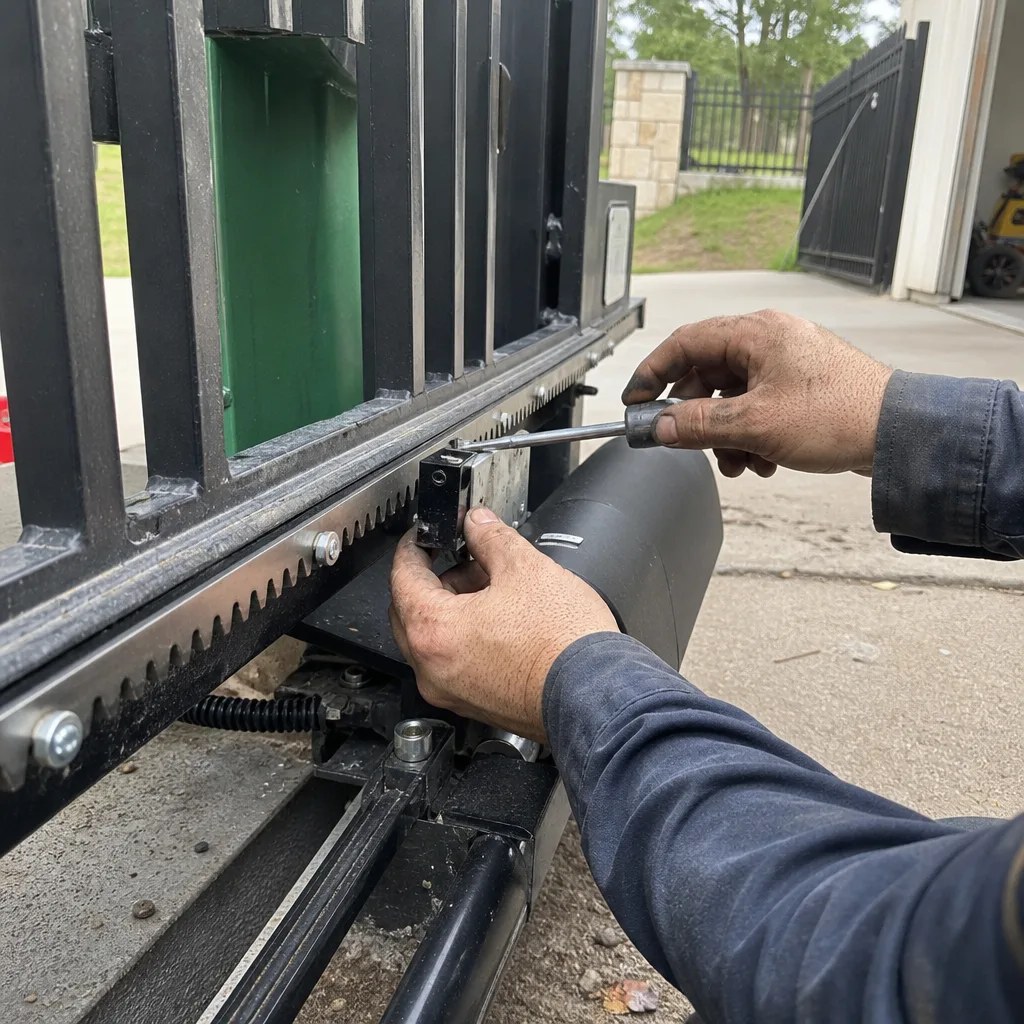
The DIY-versus-professional question for gate repair in Murphy isn’t answered by how handy you are. It’s answered by what the repair touches, what documentation it should produce, and what the failure mode looks like if something goes wrong. Cosmetic and maintenance work belongs in your hands. Electrical work belongs with a licensed electrician. Automation and structural work belongs with a gate technician, especially one who records what was found and what was changed. Vance Gate Repair Murphy has performed over 22,000 gate repairs and installations since 2014, every one with a written price before the job started and a documented record when the technician left. For gate installation in Murphy or gate motor and opener service, the same standard applies: your price is written down before anyone picks up a tool. If you’re uncertain whether your gate problem is a weekend job or a professional one, call (469) 613-2832. A free estimate and a straightforward answer cost you nothing.
Written by Adrian Vance, Owner at Vance Gate Repair Murphy, serving Murphy since 2014.